Here's what you need:
*A piece of wood no longer than 1 1/2 feet if you plan on hanging it, about 3 to 4 inches in diameter
*One eyelet screw
*Drill
*1 1/2 inch drill bit
*5/16 inch drill bit
*3 ft. piece of wire
*Twigs from your yard
*Garden shears (or something to cut small sticks)
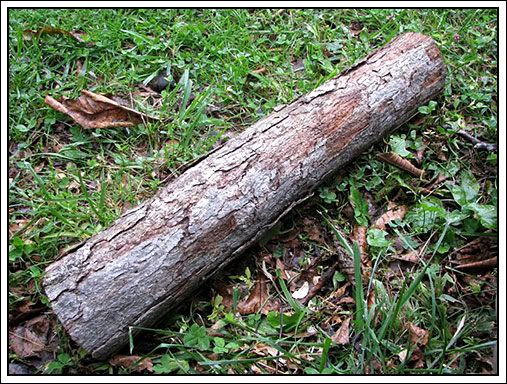
Take a piece of wood. I just pulled a piece from our wood pile that we stacked up when we did the clean up from the ice storm last January. Make sure the ends are flat if you want to mount it on your deck rail or a post instead of hanging it up.
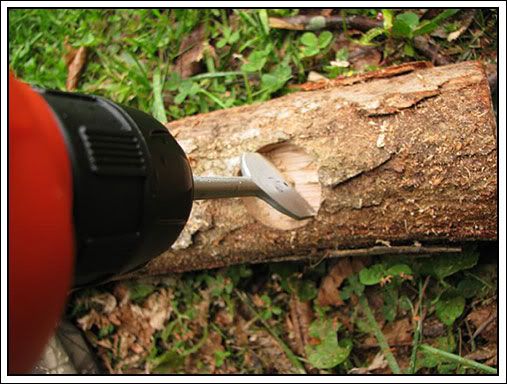
Begin by drilling 3 of these 1 1/2" holes equal lengths apart down one side of the log.
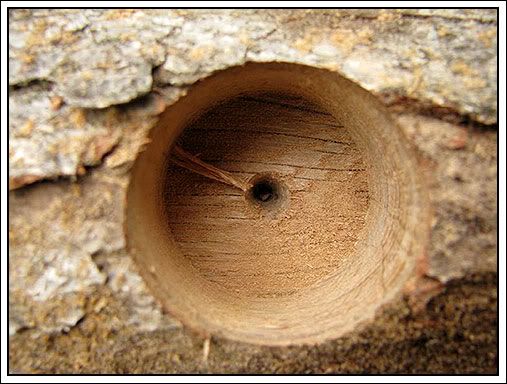
Make them about an inch deep. You want a good seat for your suet but not deep enough that you'll drill all the way through when you make the holes in the other side.
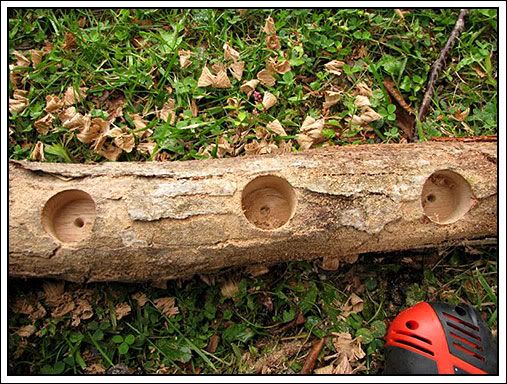
When you get your 3 holes drilled, rotate your log 1/4 turn and drill 2 holes between the 3 you just drilled.
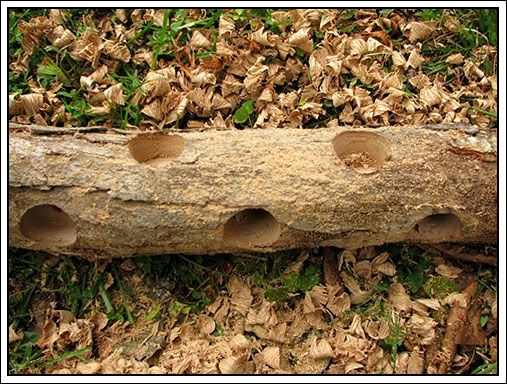
Rotate and repeat the 3 and 2 again. You will have a total of 10 holes when finished.
Some people put the hanger on and leave it like this so the woodpeckers and nuthatches can hang from the bark and eat but I like to spoil my birds and make it a bit easier for the little guys like the chickadees and titmice to get a tasty meal. Take your 5/16" drill bit and drill holes 1 to 1 1/2 inches below the large holes. Make these about 1 inch deep.
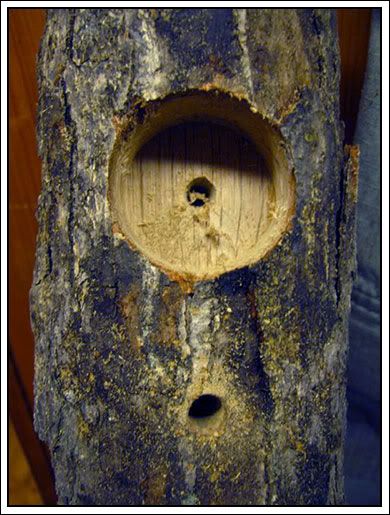
Now screw the eyelet hook in top. You might want to use a bit larger one than this. I just happened to have this size in the tool box.
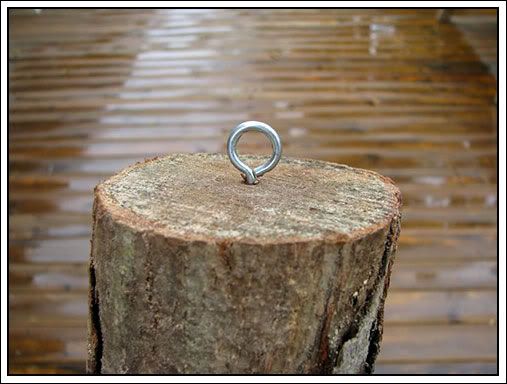
Cut a piece of wire about 3 feet long and double it a couple of times, run it through the hook and then twist, twist, twist. You want it to be about 4 inches long, any longer and the feeder will swing and cause your eye hook to loosen.
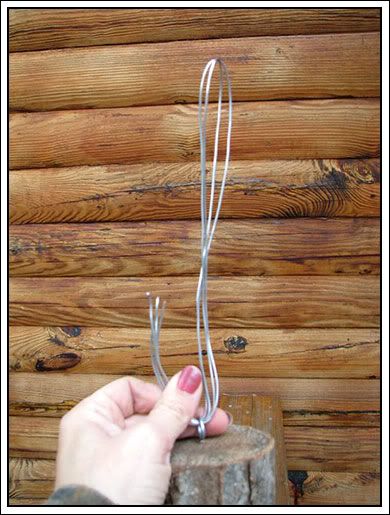
Now, grab your feeder, tuck it under your arm and go on a walk-about!
You could buy wooden dowels to cut and insert into the small holes but I think twigs/sticks from your yard make it look much more rustic (and they are free).
I carried my suet feeder around grabbing sticks and inserting them into the holes. If they aren't quite snug you can add a drop of Elmer's glue in the hole then put them in. My boys used all my glue so I just made sure to find ones that fit snugly. Don't worry if they are too long just make sure they have a straight spot that will be the perch for your feathered friends. Mine sort of looked like it had a bad hair-do by the time I was finished stuffing in the sticks.
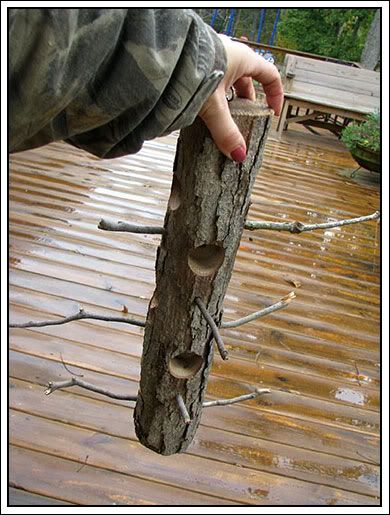
Now, go to your garage and rummage for those hand clippers in the toolbox and on the shelves. I don't have a pic of mine because I never found them. I borrowed my husband's big limb loppers and carefully cut each of my perches of to about 1 1/2 inches.
Then, I stuffed each hole with some of my homemade suet. You can make this and when it cools, roll it into balls that will fit in the holes.
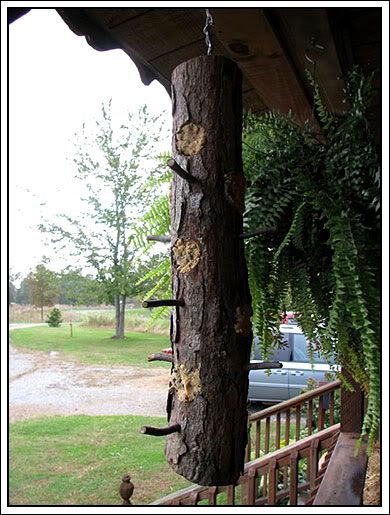
and there you have it, a rustic suet feeder to hold wonderful goodies for your birds all winter long.
And something you can be proud of because you made it all by yourself!
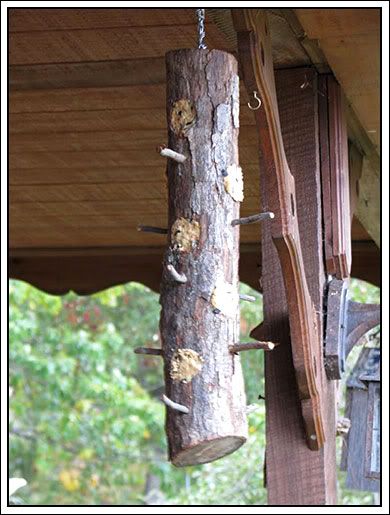
Supper's ready! Come and get it!






14 comments:
That is super cute and very clever too, I bet the birds will LOVE IT:)
That is the coolest thing....and it is rustic...you done good girl..
You go gal!! ;D
Great job! I made one last winter with a piece of birch.....the birds love it!!
This is a great wood working project for my son. I homeschool and he'll need a few projects throughout the year. Thanks for such a great blog and this posting.
This is something to keep my hubs busy when he is bored. Great idea and thank you for sharing. Tammy
Super idea! This looks like fun. Great photos!
How cute! Your talent is impressive. I'm trying not to be envious, as that is a sin and all......:):) I will be looking forward to the "birds at lunch" pics.
I like that project. Think I will have to try it. Now where is my drill?...
Super cool feeder... thanks for posting! I love feeding my birds!
Thanks for your comments on my blog, and yes we ARE keeping warm with that comfy wood cook-stove!
I love this, gonna get right on it!
Remudamom
love it....I'm gonna have to try that this winter!!!
These are great. We made them one year a long time ago when my youngest son was in 4H.
I made these for the birds in our yard and I will be making some to sell at my craft booth as well. Thanks for the great tutorial. Your blog was mentioned on my blog post today, so that we can keep the good stuff moving.
Enjoy your day!
Post a Comment