skip to main |
skip to sidebar
look a lot like
CHRISTMAS!!!!

We all had a great time decorating our tree! I loved seeing the boy's eyes light up and those big smiles on their faces when it got dark and we lit the lights for the first time tonight!
MERRY CHRISTMAS!!!

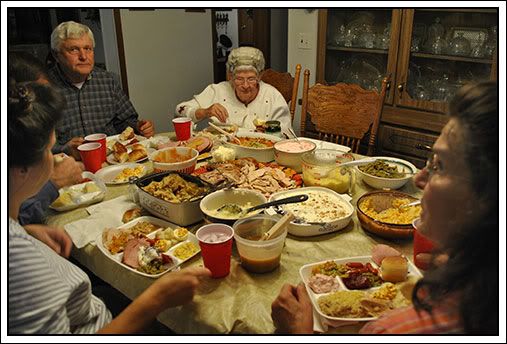
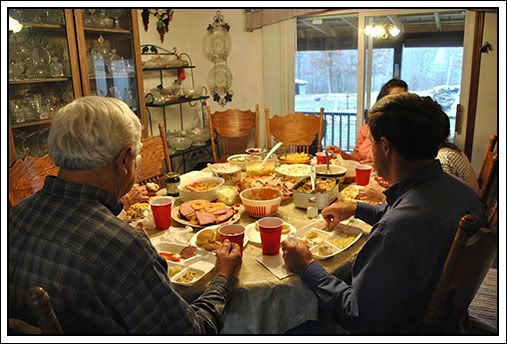
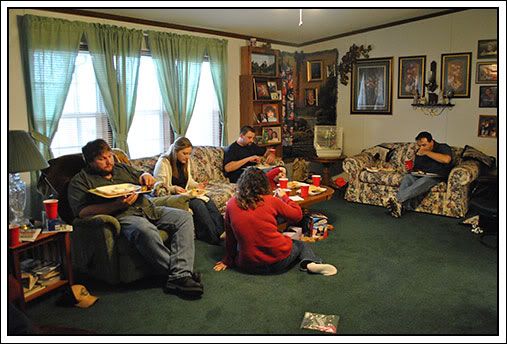
Wishing everyone a safe and wonderful Thanksgiving tomorrow! Spend time with friends and family, eat way too much, take a long nap and enjoy it all!!! That's what I'm planning on doing!
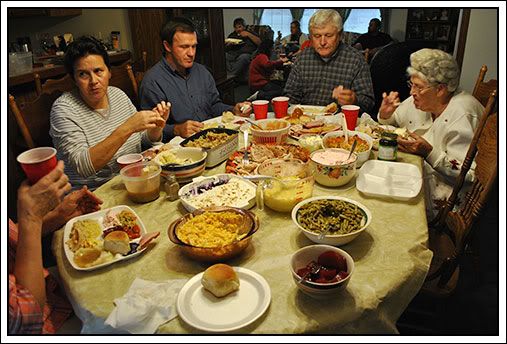
We are going to my mom and dad's. My brothers, sister and their families will be there. My aunt and uncle are bringing my grandmother.
I'm taking a ham baked in my cast iron dutch oven, sour dough rolls, deviled eggs, Lil' Smokies, mac and cheese, pumpkin pie and a granny cake. You can find all these recipes on my kitchen page. What are cooking, baking, taking????
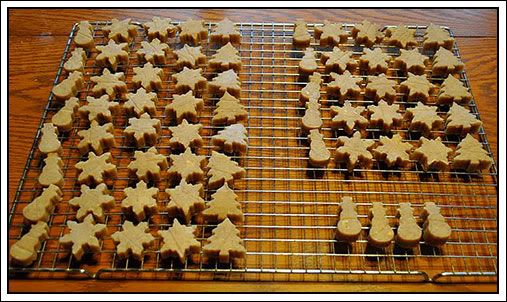
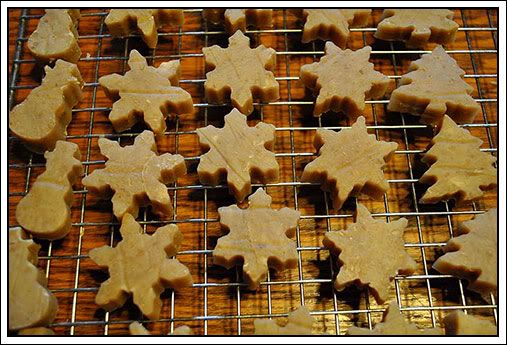
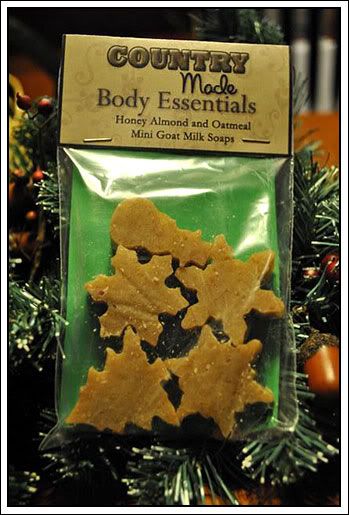
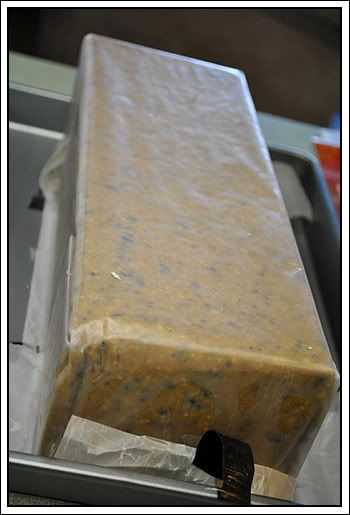
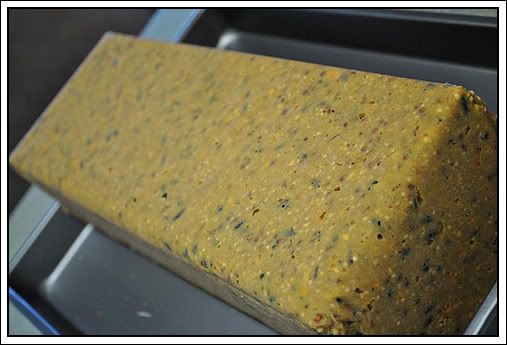
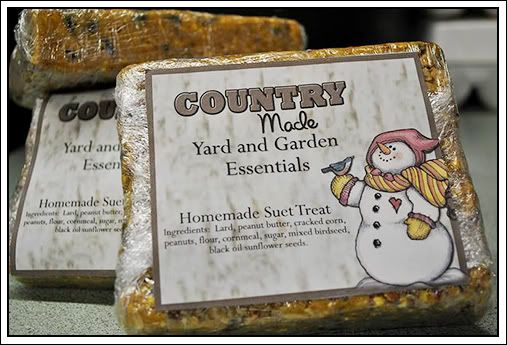
I'm working on another (different) rustic suet feeder tutorial and some friends and I are getting together Friday night to make Buttermilk Soap! I'll be in blogging about those soon.

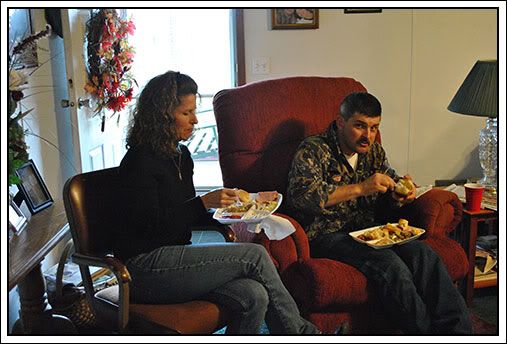
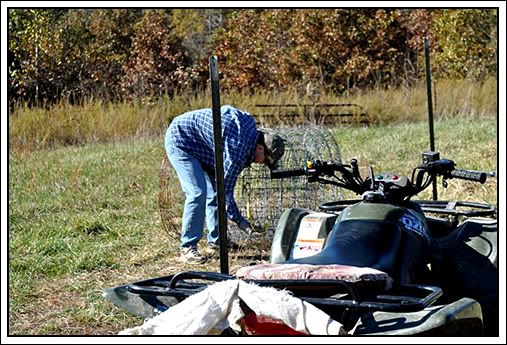
Deer season has been in full swing here in Kentucky. I don't want to offend any of my followers but I also want to share my life with you just the way it is and hunting is a part of my life. It's been a part of my life for as long as I can remember. My husband hunts, my parents hunt, my brothers and sister hunt, uncles, aunts, cousins, even my grandmother hunts. She also fishes. She's the one in the bottom photo with the big catfish.
We eat what we kill and I have never hunted just for sport. My husband and I both put meat in the freezer during deer season, we use it up during the year and we're teaching our kids to hunt with the same ethical values ingrained in us. I have killed several deer including smaller bucks over the years but I killed my first big buck yesterday. I take what the Lord provides and he happened to provided me with a nice buck this time. Rick over at Whitetail Woods featured me on his blog today and I wanted to share the link. What I didn't want to do was plaster a photo of my deer on here and not give people the choice of looking or not looking at it. This is not a "hunting" blog and I realize that some people are offended by hunting photos and can happily go through their lives without having to look at those kinds of photos. I wanted to give you a choice (and send Rick some traffic while I'm at it.) No, it's not gory or anything but it is a photo of a dead deer. So with that said....for those of you who want to see, check it out.......
This is Why I have always wanted to Deer Hunt in Kentucky by Rick Kratzke
I haven't ran away, I promise! My husband and I both took the week off to get some things done around here before the holidays. We decided to get some Christmas shopping done today but as soon as we got started the school called me. Jake was sick with a high temp, throat hurting and a headache. We hurried home to pick him up. He's my "high fever" child. I'll probably be up most of the night keeping his temp down. Just wanted to check in and say Hi!
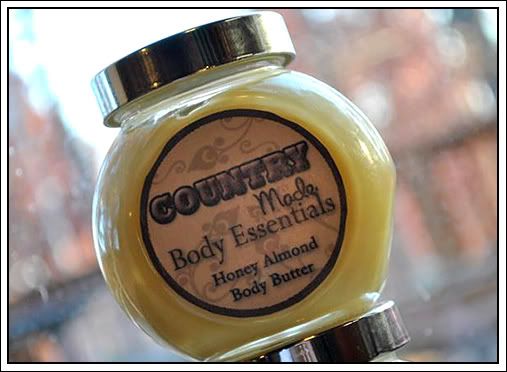
I'll leave you with a new recipe for moisturizing body butter. It's easy to make and smells wonderful!
Honey Almond Body Butter
1 oz. coconut oil
1 oz. 100% cocoa butter
1/2 Tbs. beeswax (optional)
Oil from 1 vitamin E capsule
Honey Almond Fragrance oil (Hobby Lobby)
Grate the cocoa butter and beeswax. The beeswax will make the mixture thicker. Without it the mixture is very soft, almost like lotion at room temp. It's a matter of preference how you like it. I can't decide so I have a jar of both. Melt cocoa butter (and beeswax if used) together. You can microwave it or use a double boiler. I use a canning jar sitting in a saucepan of water on medium heat (don't let the water boil). Remove from heat and add vitamin E oil and coconut oil. Mix well. Let cool slightly and add fragrance oil. Mix again and pour into container. Mixture with thicken. This is wonderful on dry hands and feet. It will feel a little oily when you first put it on but quickly absorbs into the skin and leaves it feeling very soft.
Hope you enjoy it!
Contest closed! And the winner is Arlene from The Secret Flower Garden. Email me with your pick of the blocks! I have decided to give the other one away too! Whichever Arlene does not pick goes to Aimee at Diary of a Busy Mom. Email me using the "Contact Me" link in the right side bar with your addresses. Arlene, please let me know which block you want!
Congratulations ladies!!
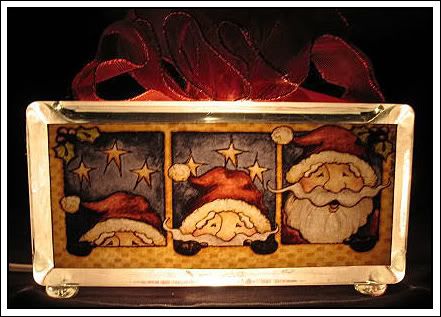
Want one without having to make it?? You get to choose between this one (it won't have the little glass globs on the bottom - they sit flat now)
and this one...

To enter, follow along and leave me a comment. It can be about Christmas, holiday memories, crafts or just stop in and say Hi!
Drawing will be Wednesday morning, November 10th, 2010, at 9:00 Central time. That gives you time to enjoy it with all your other Christmas decorations!
I am also sponsoring a BBB Give Away over at Chickens in the Road today. Check it out!
Want to make one of these cute glass light blocks?
These make great Christmas presents and sell really well. In November and December of 2006 I made and sold over 150 of these. I even made personalized ones as night lights with names like the Sylvana and Wyatt ones above and blocks in memory of loved ones with photos and poems, etc. I still get calls from time to time from people wanting them. I have an order for two for Christmas right now.
What you need:
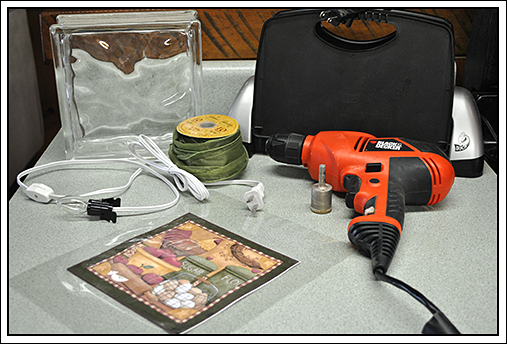
*Glass block from Lowe's, Home Depot, etc.
*Drill
*1-inch diamond drill bit (these are made for glass)
*Graphic for printing (I use PCCrafter for the graphics on all the above blocks)
*Full sheet sticker label
*Laminator and laminating sleeve
*Ribbon
*6-foot light cord and bulb
*Scissors
*Hot glue gun (oops, forgot to put the hot glue gun and scissors in the pic)
You will need to print your graphics for each side of your block on a full sheet sticker label for the 8 x 8 block like I am using in this tutorial. Cut out your graphic with scissors. You can get more than one on a sheet for the 6 x8 and 4 x 8 blocks. I use the highest quality for printing for mine.
Here are the exact measurements for printing your graphics to fit each size block:
8 x 8 block - 6.74 x 6.74 inches.
6 x 8 rectangular blocks - 4.79 x 6.74 inches.
4 x 8 rectangular blocks - 6.74 x 2.8 inches
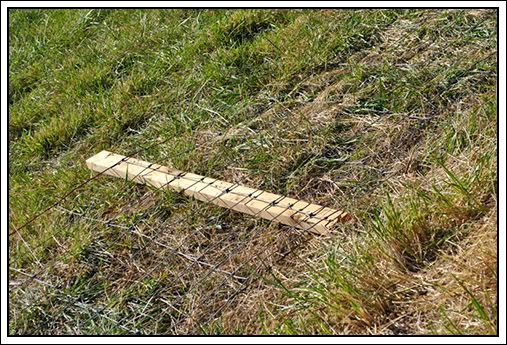
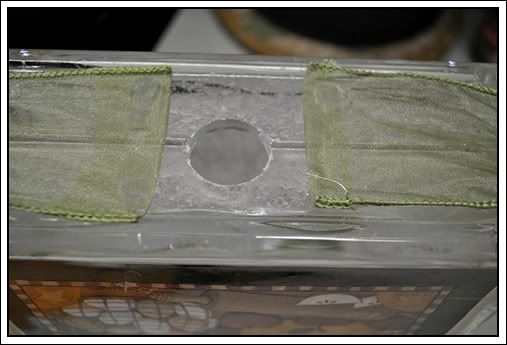
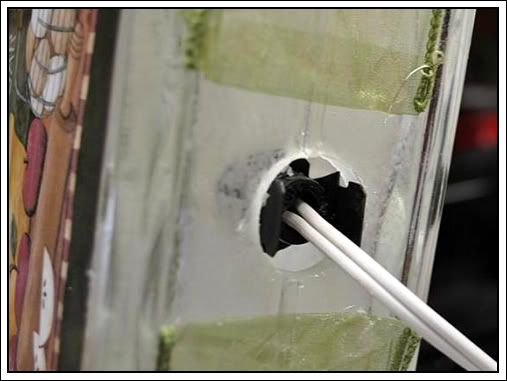
Turn your block up on its side and mark the middle like in the pic below.
Put a little water on your block where you are going to drill.
Drill the hole in the bottom of your block with a 1-inch diamond bit for glass. I ordered mine off eBay. I am using a regular drill today but when I was making lots of these I borrowed my brother-in-laws drill press.
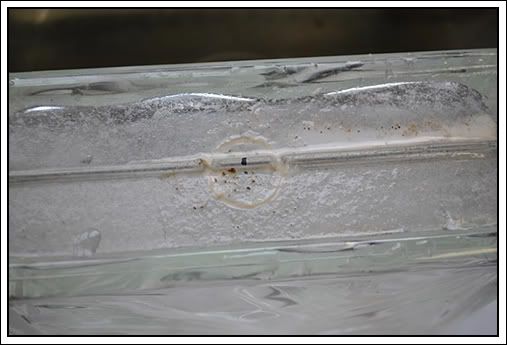
I do this either outside or in the sink so I can wash away the glass dust. Keep adding just a little water around your bit as you drill. If the block gets too hot it will crack.
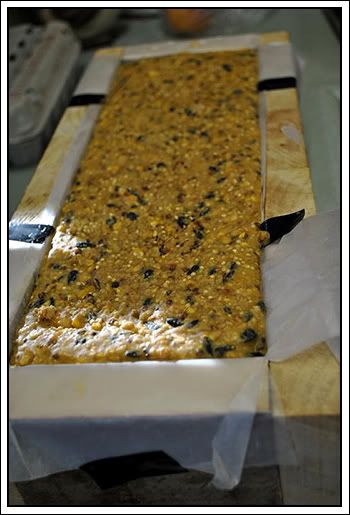
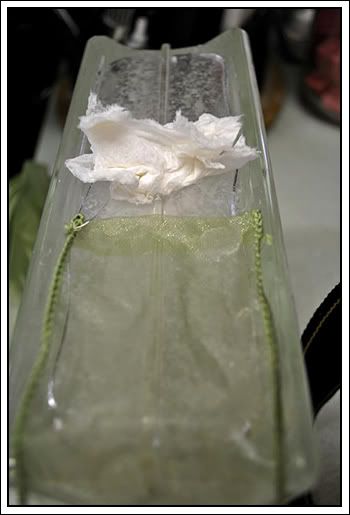
Once the hole is drilled, dump the glass out from the inside of your block and wash your block with water inside and out. Shake as much water out of the block as you can and set it to the side to dry. I stuff a paper towel in the hole to help soak up what water is left inside. While the block is drying, laminate your graphics.
I used the same graphic for both sides on this block but you can use different graphics, a photo, a poem or even family names on one side and a graphic on the other. It's up to you!
Before peeling the paper off the back of your graphics, place them back to back with sticky paper still on and slip them inside the laminating sleeve. This saves you a laminating sleeve by using one for both graphics. Run this through your laminator, flip it over and run it through again. When you trim around the very edges of your graphic and take them apart, you will have two graphics with the fronts laminated and the backs ready to peel.
Run each of these through the laminator one or two more times just to make sure the laminate is on your graphic really well.
Grab your block and lay it flat. Take one graphic and peel the backing off. Holding it almost at the top on each side place your top two corners onto the block.
You want your graphic to fit inside the sunken area and have a little "frame" around the edge. Press the graphic down along the top and then rub it down flat, top to bottom. Once stuck these are not going to come off easily or without tearing your graphic up so make sure you get it where you want it.
Flip your block over and put the graphic on the other side.
You can leave your block like this but I like my blocks with ribbons. These are easy to put on.
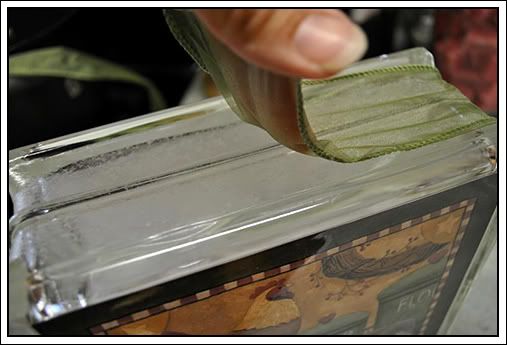
Turn your block upside down and put hot glue in a line across the block beside the hole. Fold the edge of your ribbon over and start it here.
Once stuck, flip the block over so the top is up...
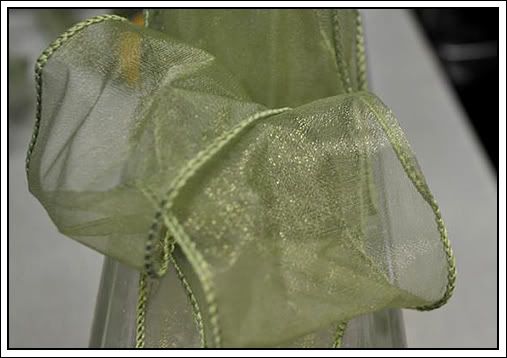
Start gluing your ribbon on, make a "bunny ear" and glue it down again.
You want 5 "bunny ears" centered at the top of the block.
Flip the block over and take the ribbon to the bottom and glue it next to the hole.
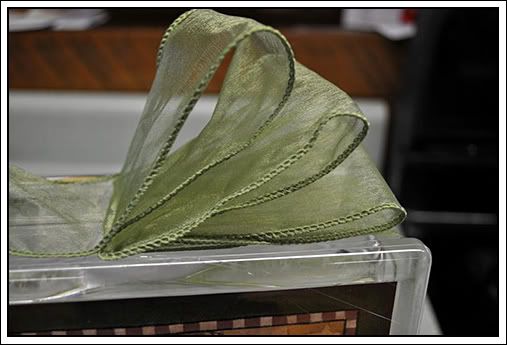
Flip the block over and put your fingers inside the first two ears and twist in opposite directions. This opens up the ribbon and shapes it.
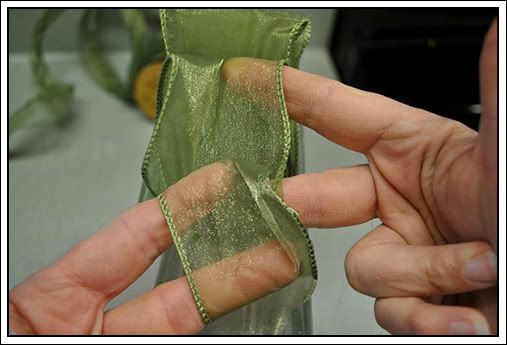
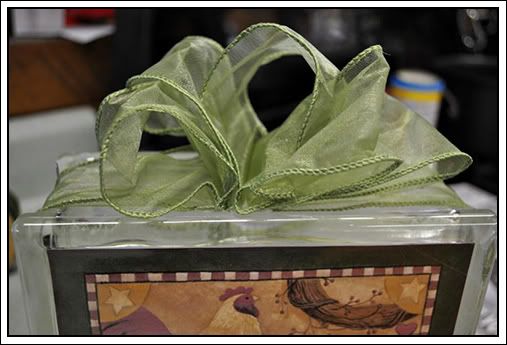
Do each ear this way until you have your ribbon looking the way you want it.
You can use a little hot glue to keep it in the right place so it looks good on both sides.
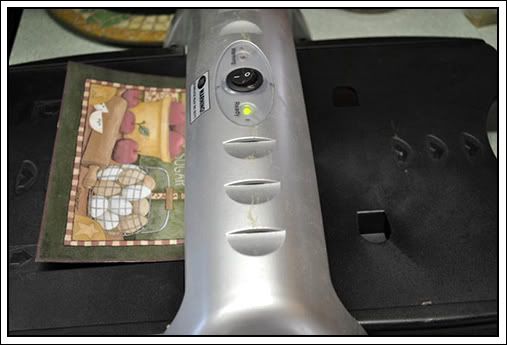
I use this light cord and bulb.
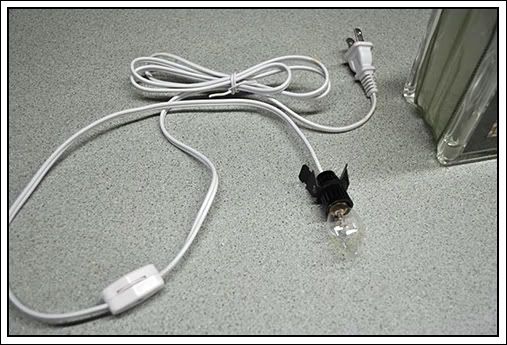
I like it better than the string of Christmas lights because you can turn it on and off without unplugging it and you can change the bulb if it burns out.
Insert the bulb and turn it so the cord goes to the side. This allows the block to sit flat. At one time I used the little glass globs as legs for my blocks but they are a pain to keep glued on.
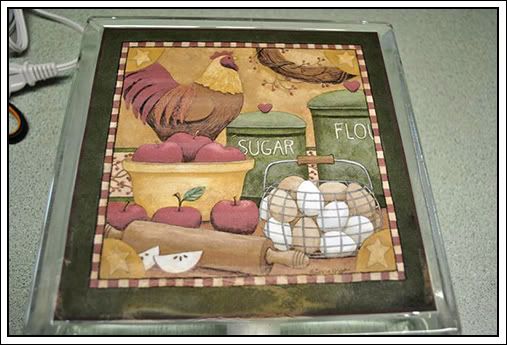
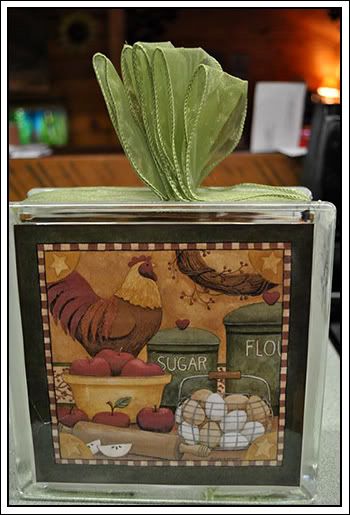
There you have it...
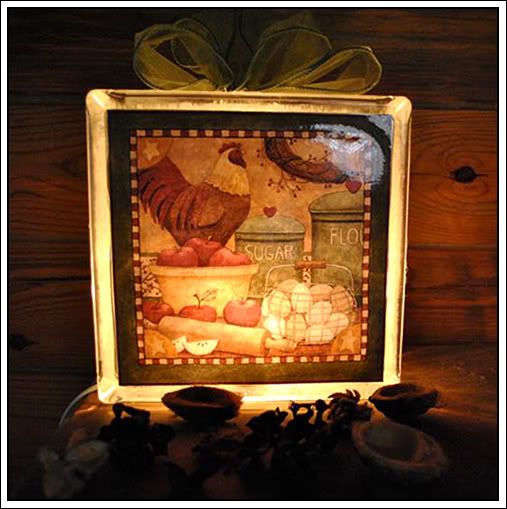
A glass light block to give your home a cozy, warm glow through the Holidays or all year long.
Any questions? Just ask!
Tip from reader Jules: DO NOT USE Lexan or plastic blocks, when these get heated the smoke is toxic.
what you think about the new Fall look! Be honest!
ANNOUNCEMENTS
For those of you who are new followers/readers, don't forget to check out the forum and join in on our discussions there.
My Country Blog of This and That Forum
I love each and every comment my blogging friends leave for me!
All images and graphics on this page were made by me with the exception of that little rooster! He came from Beth Logan's Checkered Chickens at pccrafter.com. Photos were taken by me and graphics were created using Photoshop CS2.
If you see something you like please ask for permission before using it!
Thank you!