skip to main |
skip to sidebar
As soon as the rain passes I'll be doing another Laundry Room Savings post but for now let's make some yogurt!!
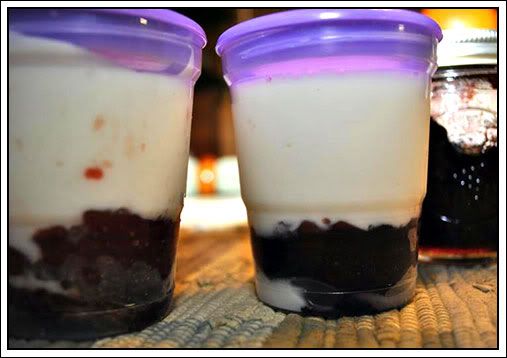
Strawberry and Blackberry Homemade Yogurt
Homemade yogurt is so easy to make! I have tried two different methods and if I'm not in any hurry I use the regular Crockpot method. If I am in a hurry to get things going, then I use the "quicker" method!
I like to make this yogurt right before I go to bed so it has a full night to sit and incubate. By morning, I have wonderful thick yogurt ready to be chilled.
Ingredients for the regular and quick method are both the same.
Here's what you will need:
2 quarts milk
1 cup of dry powdered milk
1 cup plain yogurt with active live cultures listed on the label (otherwise it won't work)
Thermometer
2 Tbsp. jam or jelly (optional)
Notes:
*I use fat-free milk from the store if we aren't milking the goats - any milk will work.
*You do not have to use the dry milk but it makes a thicker, much nicer yogurt consistency.
*I use Dannon for my first batch then I use the yogurt I make as my starter from there on out.
*If you don't have a thermometer you can bring the milk almost to a boil for the 185 and when you can hold you finger in the milk for 10 seconds without burning for the 115 but this is iffy...if the milk is too hot, you kill the live cultures and your yogurt won't thicken.
Regular Crock-pot Method
-Add 2 quarts of milk and 1 cup of dry milk to the Crock-Pot and stir well
-Turn Crockpot on, cover with lid and heat your milk up to 185 degrees. This takes about 2 hours.
-Turn the crock-pot off and remove the lid
-Let cool to 115 degrees. This takes about 2 hours.
-Add 1 cup of plain yogurt and stir well.
-Wrapping and incubating: Replace the lid and wrap the crock-pot in 2 or 3 towels. You can leave it on your counter if your house is fairly warm. I sometimes sit it inside my oven to make more room on the counter top. The yogurt needs to stay between 90 and 110 degrees during this time. Let sit for at least 6 to 8 hours, up to 10 for a thicker yogurt with a stronger taste.
Quicker Method
(for getting it into the Crock pot before bedtime!)
-Place the insert in your Crockpot and turn it on low to get warm.
-Add 2 quarts milk and dry milk in a saucepan on the stove.
-Heat to 185 degrees.
-Remove from heat and pour into the pre-warmed Crock-pot. Turn Crock-Pot off. This skips the 2 hour heating step. I still like using my Crock pot because it's a good size for making yogurt. Any container that can be covered and wrapped up will work including the saucepan you just used, it just takes longer to cool down. I have been known to add a couple of cubes of ice at a time to cool this down . Keep a close eye on your temp while doing this (this cuts out the 3 hour cooling down step) but you might want to increase the amount of dry milk you added at the beginning to make up for the water this adds.
-Follow the steps above for wrapping and incubating.
You should now have homemade yogurt!!! Put in a large container or in individual one cup serving containers and place in the refrigerator to chill. I add 1 to 2 tablespoons of jam or jelly per 1 cup of yogurt, stir and enjoy. It's delicious and much cheaper than store bought. Remember to reserve 1 cup of plain yogurt as a starter for your next batch! The starter can be frozen or is good in the refrigerator for 1 to 2 weeks.
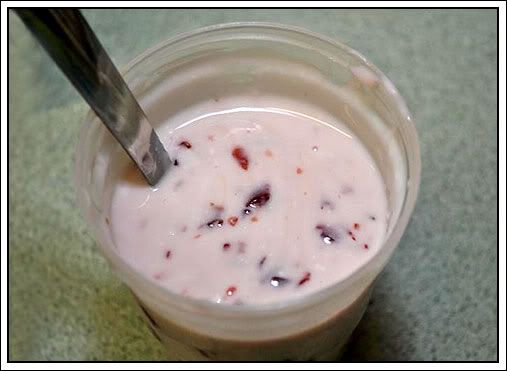
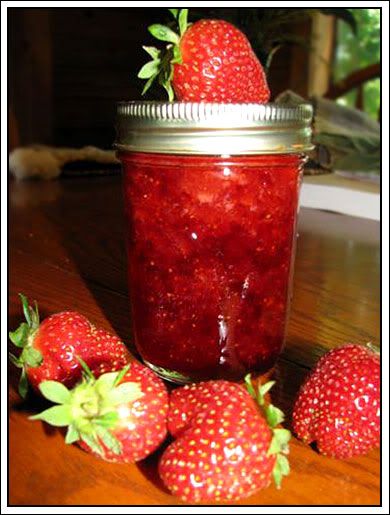
YUM! Blackberry! I can extra jams and jellies just to use in yogurt each year!
There are many ways to incubate your yogurt. You can sit your saucepan on on a towel-covered heating pad on low and cover with another larger upside down pot, put it in a toaster oven set to 100 degrees, regular oven with just the pilot light on for heat, in a cooler lined with towel......those are just a few I have read about.
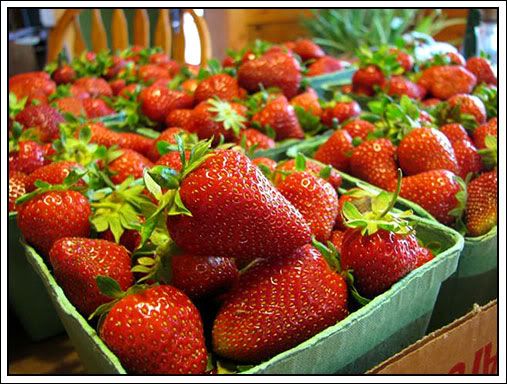
So far this week my son has had strawberry, peach, blackberry and plum yogurt for breakfast. I like to throw a packet of Splenda in mine and have it that way. You can add a little sugar and vanilla to the milk in the beginning if you like to give it a hint of sweet vanilla taste. Let me know if you have other variations on homemade yogurt. I would love to hear them!
Yes, you read that right. I am rendering lard! Suzanne over at Chickens in the Road has convinced me that I MUST make soap! Considering that I have a large supply of goat milk from Miss Bella, I must make goat milk soap! I am hoping to have an end product that's something like Suzanne's Vanilla Sugar Dreams soap. I have to give credit to CindyP over at Chippewa Creek: Our Life Simplified for her help as well and for giving me the courage to try this! You can find both Suzanne and CindyP's blog buttons in the left sidebar.
The first step was to gather all of my ingredients and I quickly realized that I only had a pint jar of lard. I render my own lard from pork fat. This particular pork fat came from the meat hog we had butchered last winter. My mom helped herself to a large jar of my already rendered lard last time she was here so I'm running a little short. She likes to partake in the fruits of my labor. Last week she left with 2 dozen eggs, a quart of apple pie filling and 3 pints of various jellies but that's okay because I left her house Sunday with 2 quarts of pickled okra, 1 quart of dill pickles and a pint of watermelon rind preserves.
Just in case you ever find yourself with an excess of pork fat (or any other animal fat for that matter) it's not hard to turn it into beautiful, white, creamy lard. Lard makes the best pie crusts by the way. I don't use it much to cook much because of my cholesterol but I do use it for making suet for the birds during the winter and now I'll be using it for making soap.
As a child I remember the men in my Dad's family getting together each winter and killing hogs. My grandmother, mom and the other women would be stoking that fire underneath a huge cast iron kettle just waiting for the hog fat.
This what hog fat looks like right off the hog and thrown in the freezer...
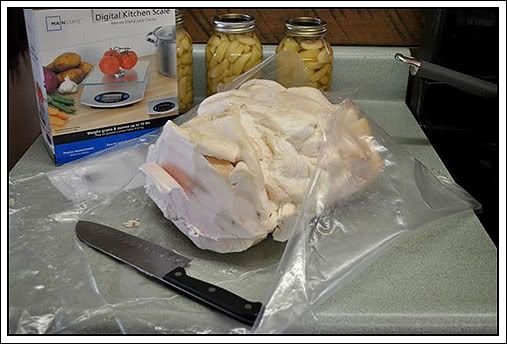
Hours of cooking and stirring would yield lard and those little crunchy things called cracklings! How many of you ate cracklings while hanging onto your grandmother or mother's apron tail when you were a child?
I don't quite go to the iron-kettle-over-the-fire-pit extreme but I do cut up my tallow into 1/4 to 1/2-inch pieces, put it in my crock pot with small amount of water just to get it started.
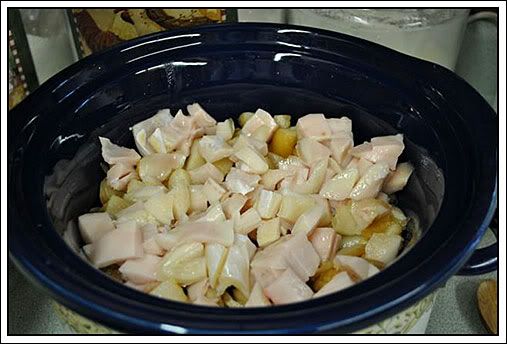
It will take a several hours in the crock pot to completely melt the fat. I have also used the stove top method for quick rendering but you have to keep a much closer eye on it because it cooks fast. There's also the oven method. You put your cut up fat into a large oven-safe pot, cover with a lid and put in the oven. Set temp at around 300 degrees and leave until fat is melted then go to the next step. This method also takes several hours depending on the amount of fat and the size of the pieces.
However you choose to melt your tallow, once melted, strain the liquid off into jars, cap and store in the refrigerator.
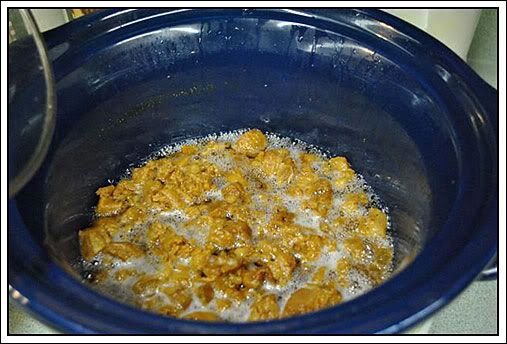
Put the small pieces back into the pot and cook them a while longer until they turn into crunchy little cracklings. Drain the rest of the grease and put the pieces on paper towels to finish draining. You can use cracklings in cornbread, as toppings sprinkled on other dishes, etc.
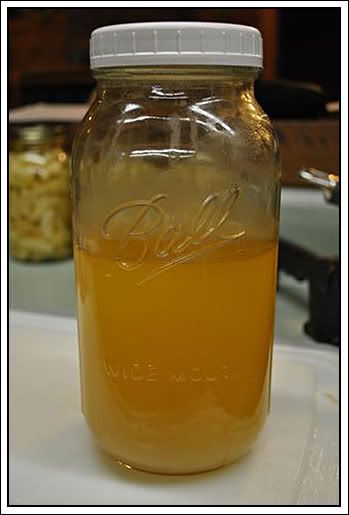
Here's my rendered lard just starting to turn a little white at the bottom after cooling in the refrigerator for a couple of hours. By morning it will look like this.
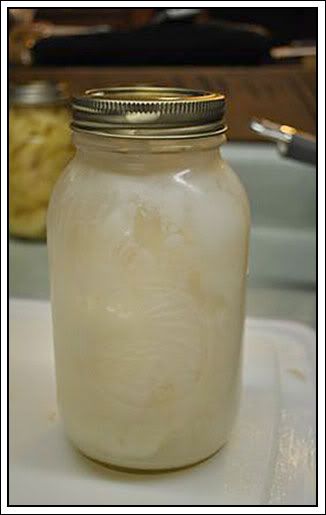
Now I have plenty of lard for making soap. I plan on making my first goat milk soap tomorrow! Follow along and I'll let you know how it goes! Wish me luck!
Pumpkins and suet seem to be the themes around here lately. I have a bought suet feeder on my back deck that the birds absolutely love. The titmice and nuthatches are constantly pecking away at it and I have had bluebirds and woodpeckers visit it as well. I wanted one for my front porch but didn't want to pay for another suet feeder when it looked so easy to make. It was easy! Here's how I did it and I had all this stuff out in the tool shed.
Here's what you need:
*A piece of wood no longer than 1 1/2 feet if you plan on hanging it, about 3 to 4 inches in diameter
*One eyelet screw
*Drill
*1 1/2 inch drill bit
*5/16 inch drill bit
*3 ft. piece of wire
*Twigs from your yard
*Garden shears (or something to cut small sticks)
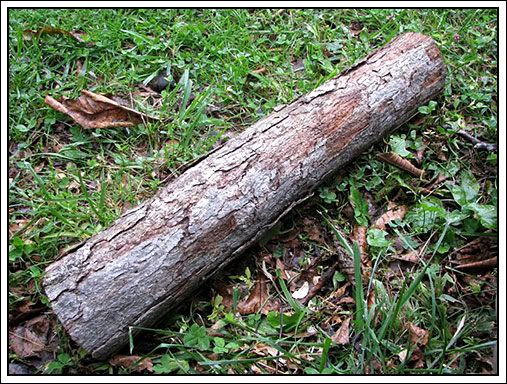
Take a piece of wood. I just pulled a piece from our wood pile that we stacked up when we did the clean up from the ice storm last January. Make sure the ends are flat if you want to mount it on your deck rail or a post instead of hanging it up.
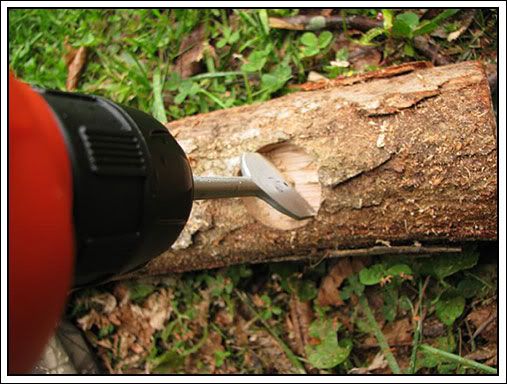
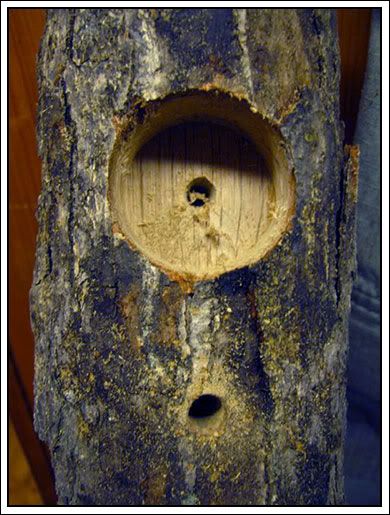
Begin by drilling 3 of these 1 1/2" holes equal lengths apart down one side of the log.
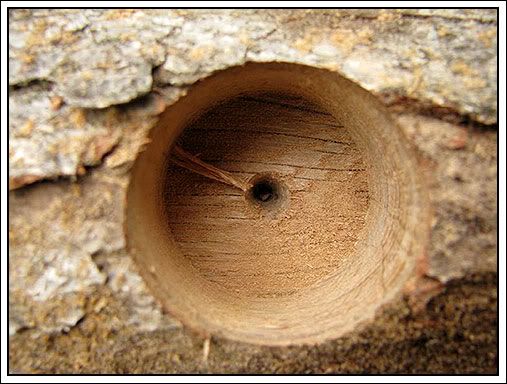
Make them about an inch deep. You want a good seat for your suet but not deep enough that you'll drill all the way through when you make the holes in the other side.
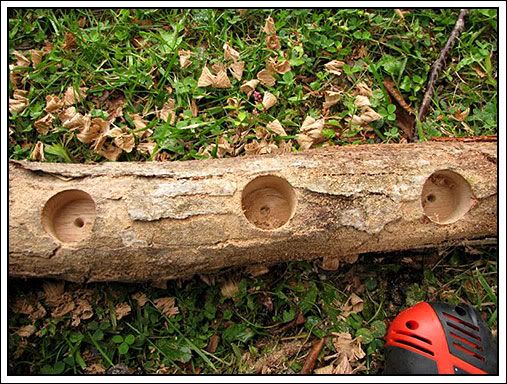
When you get your 3 holes drilled, rotate your log 1/4 turn and drill 2 holes between the 3 you just drilled.
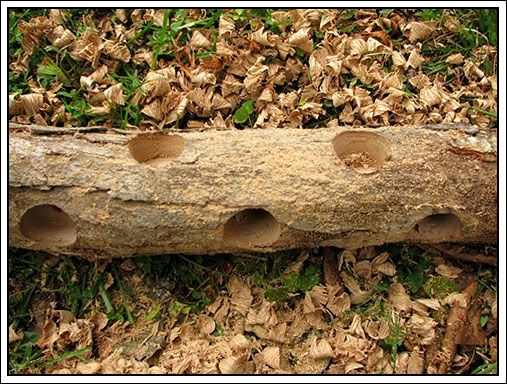
Rotate and repeat the 3 and 2 again. You will have a total of 10 holes when finished.
Some people put the hanger on and leave it like this so the woodpeckers and nuthatches can hang from the bark and eat but I like to spoil my birds and make it a bit easier for the little guys like the chickadees and titmice to get a tasty meal. Take your 5/16" drill bit and drill holes 1 to 1 1/2 inches below the large holes. Make these about 1 inch deep.
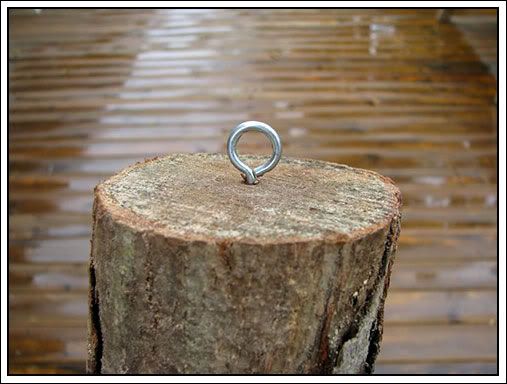
Now screw the eyelet hook in top. You might want to use a bit larger one than this. I just happened to have this size in the tool box.
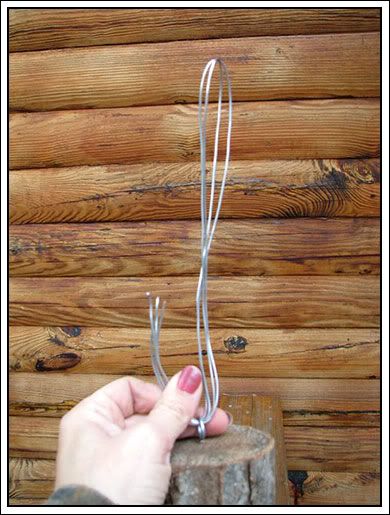
Cut a piece of wire about 3 feet long and double it a couple of times, run it through the hook and then twist, twist, twist. You want it to be about 4 inches long, any longer and the feeder will swing and cause your eye hook to loosen.
Now, grab your feeder, tuck it under your arm and go on a walk-about!
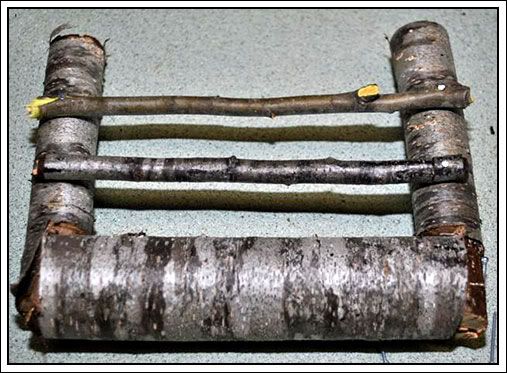
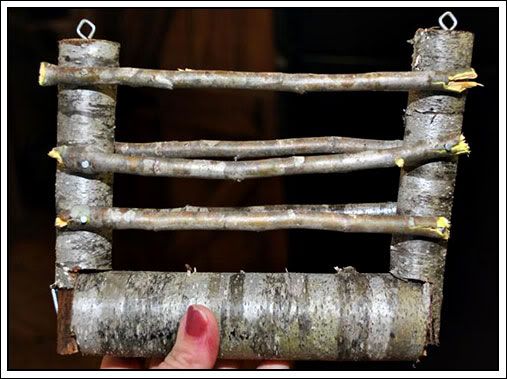
You could buy wooden dowels to cut and insert into the small holes but I think twigs/sticks from your yard make it look much more rustic (and they are free).
I carried my suet feeder around grabbing sticks and inserting them into the holes. If they aren't quite snug you can add a drop of Elmer's glue in the hole then put them in. My boys used all my glue so I just made sure to find ones that fit snugly. Don't worry if they are too long just make sure they have a straight spot that will be the perch for your feathered friends. Mine sort of looked like it had a bad hair-do by the time I was finished stuffing in the sticks.
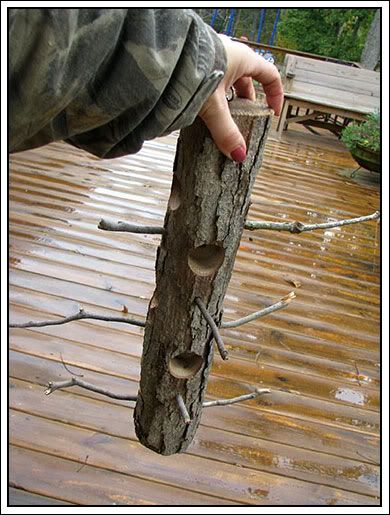
Now, go to your garage and rummage for those hand clippers in the toolbox and on the shelves. I don't have a pic of mine because I never found them. I borrowed my husband's big limb loppers and carefully cut each of my perches of to about 1 1/2 inches.
Then, I stuffed each hole with some of my homemade suet. You can make this and when it cools, roll it into balls that will fit in the holes.
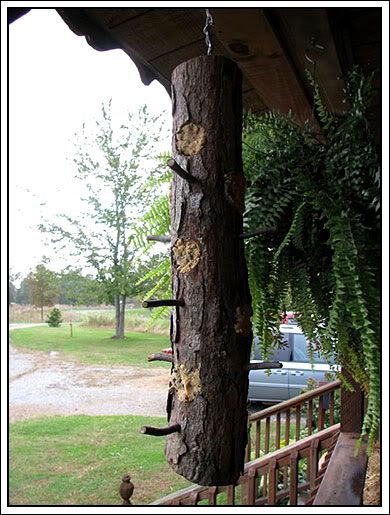
and there you have it, a rustic suet feeder to hold wonderful goodies for your birds all winter long.
And something you can be proud of because you made it all by yourself!
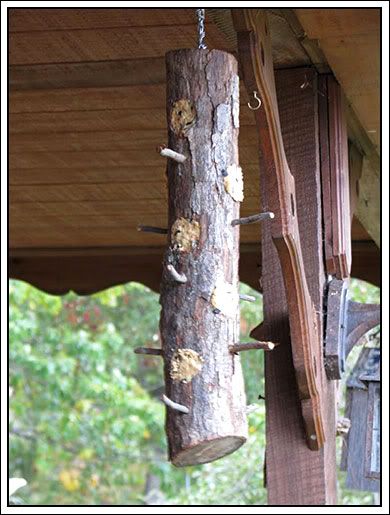
Supper's ready! Come and get it!
Where does the time go? I am so sorry that I haven't blogged in the last few days. Between my oldest being on Fall break, a goat getting mastitis and having to bottle feed one of the kids, work, 200 miles of yards sales Friday (which my sister and I just had to partake in of course) and the tech guy spending one of the days trying to finish getting my computer set up, it's been awhile!
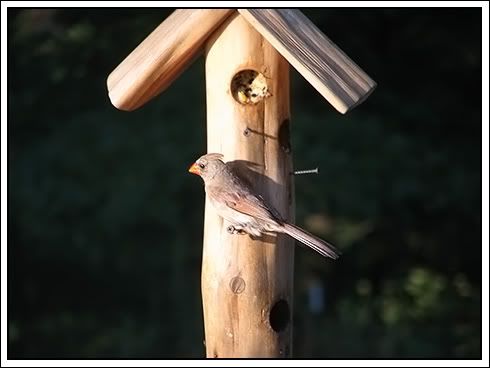
The weather has changed very quickly here and we are heading straight into Fall with cool night and the leaves starting to change. I wanted to share this suet recipe with everyone. I love feeding my birds and try to keep a variety of things out for them especially during the colder months when food is so hard to find.
This recipe is nice because it can be used year-round. I have kept it out on the hottest days of the summer and it only softens up a bit, has never melted into a mess and never sours. I tried a fruit one a while back (not thinking about the warmer temps) and had a stinky mess by the next morning so I will be saving that one for winter!
This recipe is under the This and That section of my cookbook and I have received several compliments on it. I don't remember if I got this from a magazine or if it's one I mixed and threw together. I won't take credit for inventing it but I will take credit for sharing it!
The nuthatches and titmice LOVE this as well as the woodpeckers and chickadees.
Suet Cakes
1 c. lard
1 1/2 c. crunchy peanut butter
1/3 c. sugar
2 c. quick cook oats
2 c. cornmeal
1 c. flour
1 c. mixed birdseed
1 c. cracked corn
Melt lard and peanut butter. Add sugar to the melted mix and stir well. Add oats, cornmeal, flour, birdseed and cracked corn. Mix well and pour into large cardboard orange juice cartons with the top cut off. Chill or freeze. Slice into blocks to fit into suet feeders. You can also stuff toilet paper rolls or paper towel rolls for easy slicing to fit into the suet feeders with round 1-inch holes.

ANNOUNCEMENTS
For those of you who are new followers/readers, don't forget to check out the forum and join in on our discussions there.
My Country Blog of This and That Forum
I love each and every comment my blogging friends leave for me!
All images and graphics on this page were made by me with the exception of that little rooster! He came from Beth Logan's Checkered Chickens at pccrafter.com. Photos were taken by me and graphics were created using Photoshop CS2.
If you see something you like please ask for permission before using it!
Thank you!




 Posts
Posts