skip to main |
skip to sidebar
Not sure what to do with all those cucumbers? This recipe is simple, quick, doesn't require boiling, bathing or processing.....
Quick and Easy Freezer Pickles
7 cups of cucumbers (sliced)
1 cup of bell peppers (sliced)
1 cup of onion (sliced)
1 cup white vinegar
2 cups sugar
2 tsp salt
1 tsp celery seed
Thinly slice your cucumbers, onions and bell peppers and mix together.
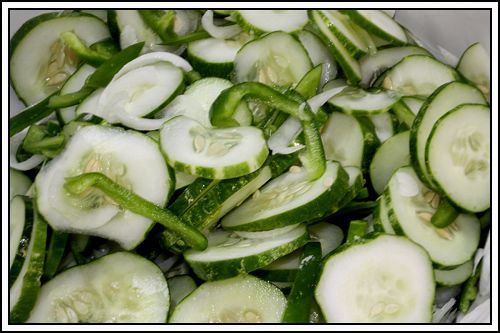
Mix vinegar, sugar, salt and celery seed and pour over sliced veggies and stir.
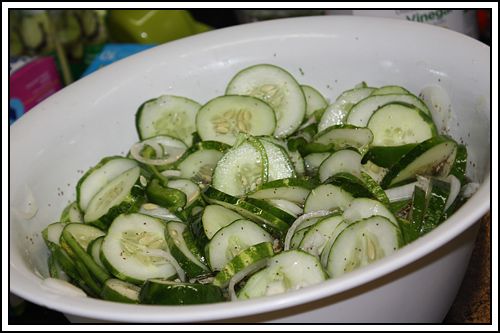 Marinate over night in the refrigerator, stirring a couple of times.
Using a slotted spoon, pack cucumbers, onions and peppers into freezer containers or zip lock freezer baggies, then add enough of the liquid from bowl to cover pickles.
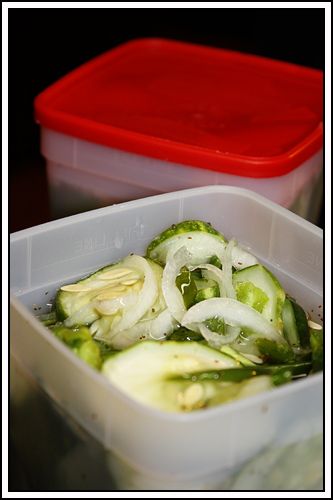 Close tightly and place in freezer.
(That is if you can keep from eating them all while putting them in containers!)
Close tightly and place in freezer.
(That is if you can keep from eating them all while putting them in containers!)
When you want to use them, remove them from the freezer in time for pickles to thaw. I usually take them out the night before and put them in the refrigerator. They'll be as crispy and sweet as they were when you first made them!
ANNOUNCEMENTS
For those of you who are new followers/readers, don't forget to check out the forum and join in on our discussions there.
My Country Blog of This and That Forum
I love each and every comment my blogging friends leave for me!
All images and graphics on this page were made by me with the exception of that little rooster! He came from Beth Logan's Checkered Chickens at pccrafter.com. Photos were taken by me and graphics were created using Photoshop CS2.
If you see something you like please ask for permission before using it!
Thank you!




 Posts
Posts