Showing posts with label PhotoShop. Show all posts

January 25, 2013

Canon and Photoshop!


Two things on my "I LOVE" list and I have them both back in my life!
I got into the habit of using my iPad and iPhone  then I pulled out the Canon and dusted it off.

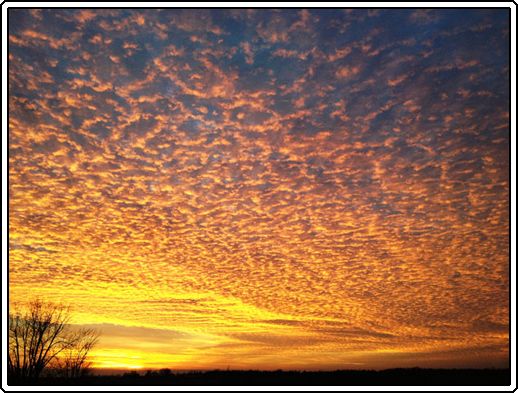
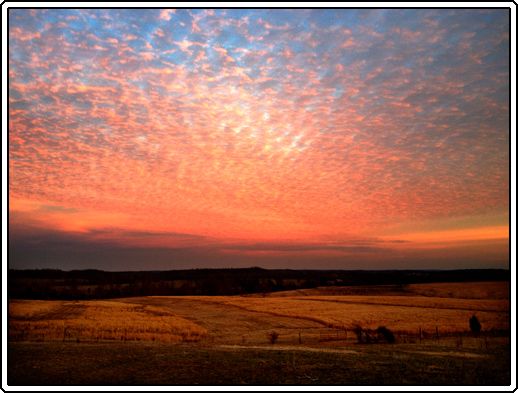
 photo farmsunset2_zps09d0963f.jpg
Why did I ever put it away??

 
 I also got my computer back from the repairman, and I have Photoshop again!  
I would have cried happy tears, but I was in too much of a hurry to use it again!
I have missed my Photoshop so much!


And I had this beautiful sunset to play with!

October 11, 2011

Just One of the Reasons

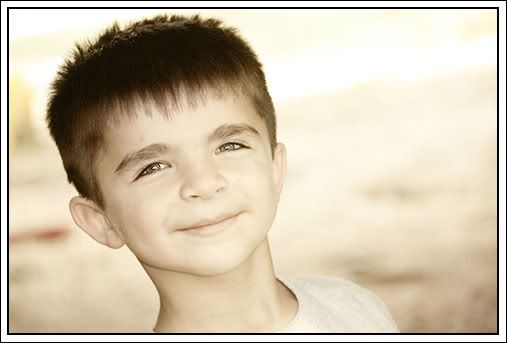
I love the person who let me borrow this camera: So I can catch moments like these.

My littlest man, looking so grown up!

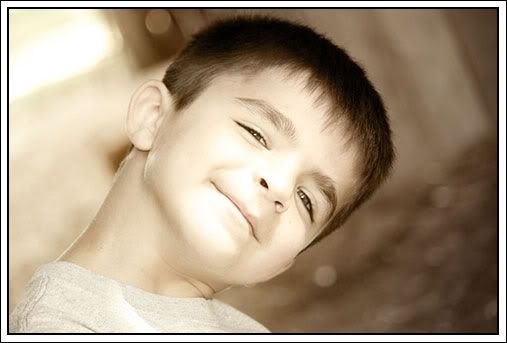
My baby! Being sweet!

My smoochie face. I live for those sweet sugars under that neck!

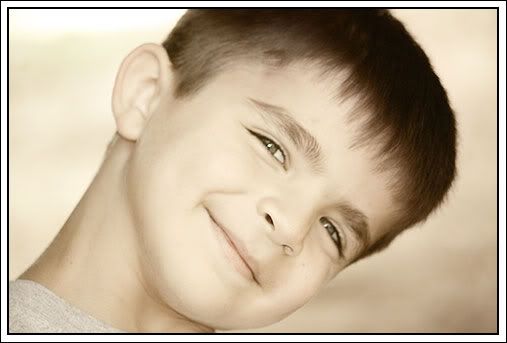
He is perfect and he is mine!

This face is one of the reasons this child gets everything he wants!

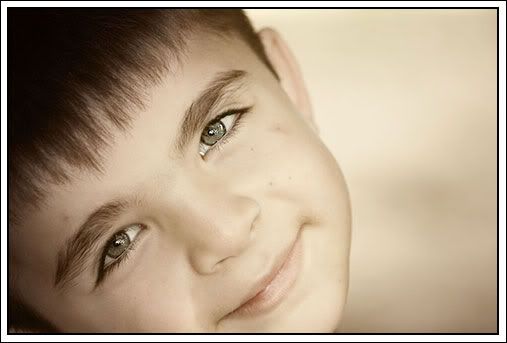
He squeezes my heart with those eyes!

Each of these photos had Pioneer Woman's "Soft and Faded" Photoshop action added.

August 22, 2010

Photo Restoration

A little break from the chickens and the garden to share something that is very special to me. I've been going through some of my moms albums gathering old photos that I want to scan and keep. One of my favorite albums is full of photos of my Dad's family when he was a little boy. I love to look at the ones of my grandpa. I never knew him. He died four years before I was born but I have heard many stories about him from my Dad over the years. I'll be sharing some of those over the next few weeks but today I want to share one of my uncle.

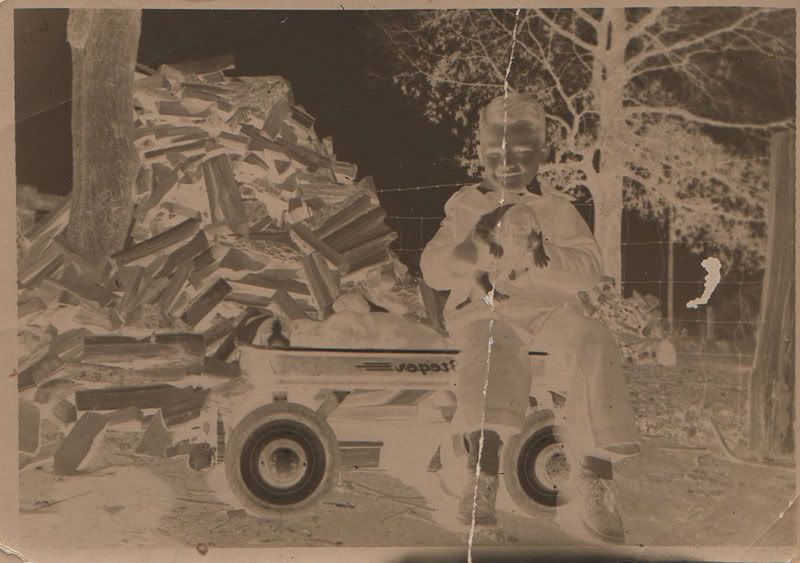
In the bottom of a box I found a very old negative. Negatives were very different 50 years ago, almost like photo paper instead of the clear film we see now. This is a scan of the original that I found in the bottom of the box.
Photobucket
My Dad could tell that it was a photo of my uncle, his younger brother who passed away 15 years ago from a heart attack at the age of 44. My first thought when I saw it was "What can I do with that in Photoshop?"
I brought the negative home and started on my restoration journey...
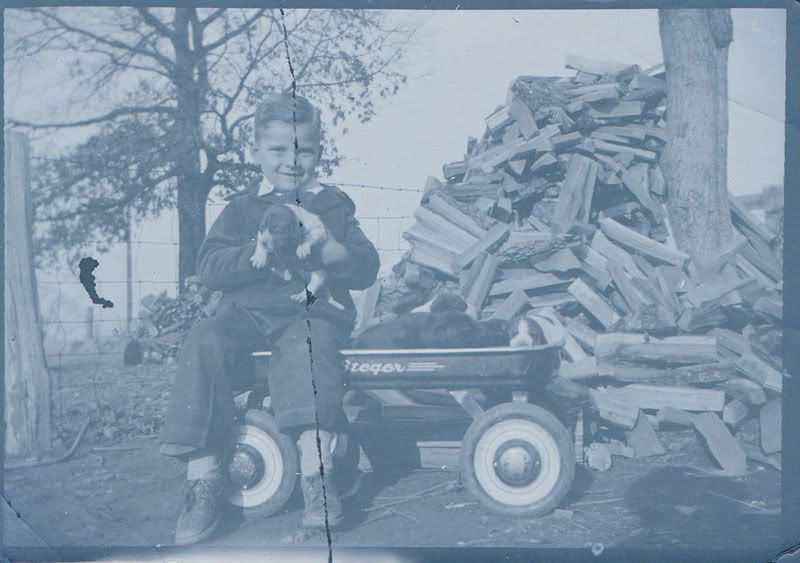
First, I scanned the negative then opened it in Photoshop CS2. I knew that negatives were flipped, a mirror of the actual image, so I hit the transform/flip horizontal button. Then I clicked on Image in the tool bar and picked the Invert options. This changes photos to look like negatives so I was hoping to get the opposite effect and it worked.
I now had this image.
Photobucket
Looking much more like a photo and showing more detail! That blue haze had to go so I changed it to a greyscale image making it black and white then adjust the contrast to give it more depth.
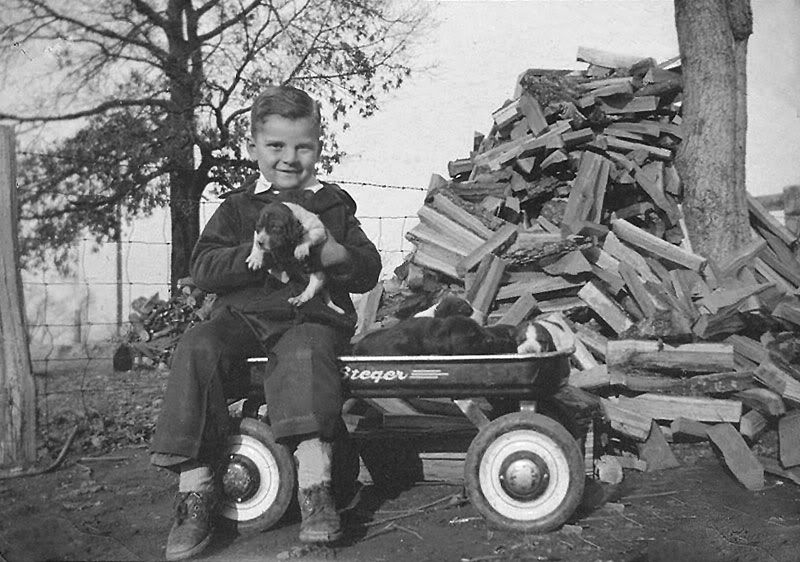
Then, the tedious part....all those scratches and specks and he had a big line right through his cute little face! Using the clone stamp tool and the healing brush tool, I spent about an hour working on this photo and I can honestly say that the money I spent on Photoshop was worth seeing the final image of my uncle, especially since I can now have his wife who loved him with all her heart and my Dad an enlarged copy of this precious photo made as a keepsake.
Photobucket
You can click on the photos to see a larger copy and more details. I just love the wagon full of puppies and that little boy smile! I don't think it could be any sweeter!
If you have Photoshop, what do you use it for? Web design, photo editing/restoration, making siggies/blinkies/buttons? Tell us! I'd love to find even more ways to use mine!

May 14, 2009

One out of 237!

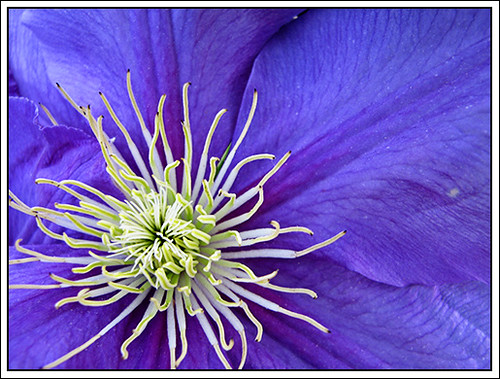
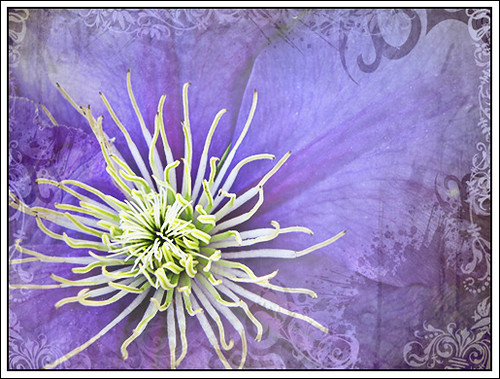
There are days when I take a about a thousand photos and have 3 dozen good ones, so many I don't know which ones to blog about. Then, there are days when I take a million (not really but it's a bunch!) and get 1 shot that I like. One single photo that makes me say "Ooooo, I wanna play with that one!" This is my one photo from 237 shots taken yesterday afternoon. The clematis on the front lamp post finally bloomed so I had to get a pic of it.

This is the original with Pioneer Woman's Boost action ran on it.

This is the same photo with a Sheispretty Texture (the blues 2) applied. Check out her Sheispretty Deviant Art texture page. She is sharing some excellent textures.

and one more with the Antique 1 Sheispretty Texture.

I couldn't get the blending mode (overlay, soft light, etc.) to look right with these textures so all I did was applied the texture as a new layer and then reduced the opacity and touched up a few spots with my eraser that I wanted to show a little better until I had the photos just way I wanted them.
I love hearing your opinions on which you like best, so please let me know!

April 13, 2009

Playing With Textures

I posted a tutorial a couple of weeks ago on using textures in Photoshop CS2. After downloading and using other peoples textures I decided to make a few of my own. I've been playing with them today and wanted to share an example and some "how I did it's".

Here is a link to the original tutorial.

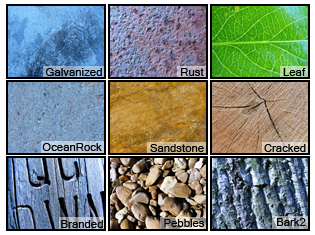
Here is the link to my textures. I have added a few more since the tutorial. They are free for you to download, but please, do not claim them as your own or add them to any other groups of textures for download.

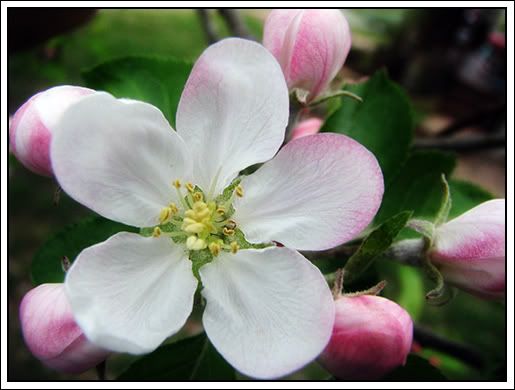
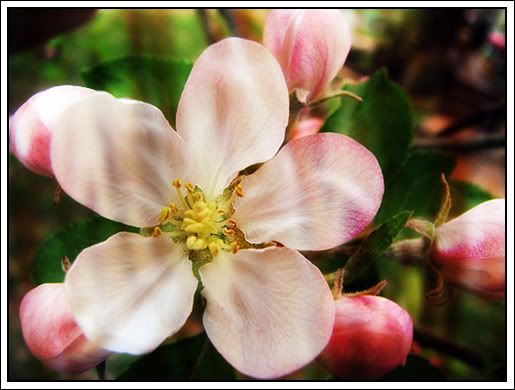
Here is the original.


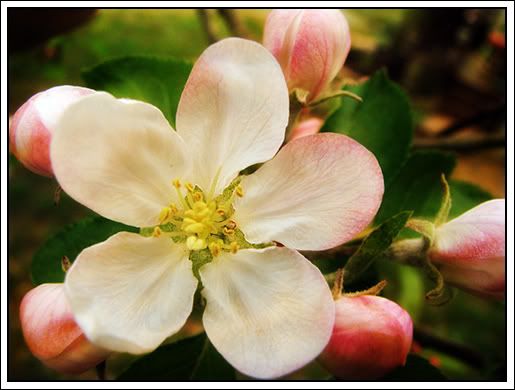
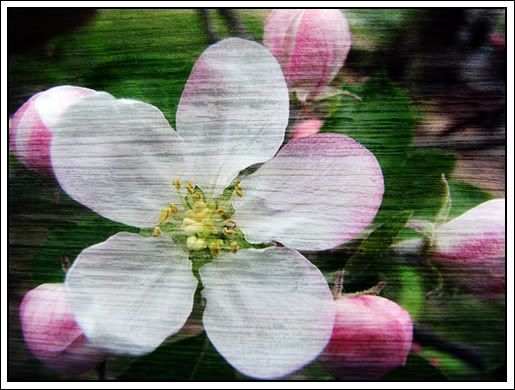
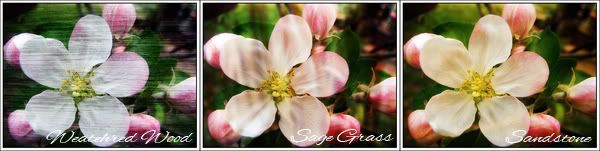
After following the tutorial above, these are three of the finished products.

This is using the Sandstone texture/overlay blending mode/adding a little Gaussian blur to sandstone layer/flatten image.


This one is Weathered Wood/Overlay blend mode/adjust opacity/flatten image.


and this one is one of my favorites. I love the look of shadows it gives to the apple blossom.

On this one I used the Sage Grass texture/soft light blending mode/a little Gaussian blur/reduced the opacity just a tiny bit/flattened image.


And here they are for a comparison.


Hope you enjoy these. Please post comments and questions if you have them. Thanks!

April 9, 2009

PhotoShop Tip of the Day

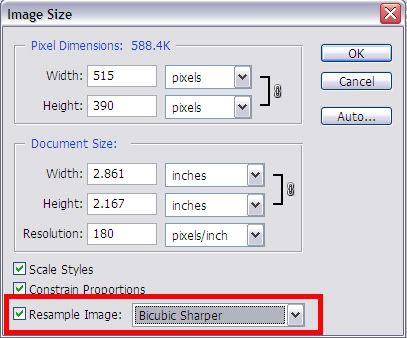
When resizing a photo down...change the Resample Image box to: Bicubic Sharper.
This keeps the sharpness of your image instead of giving it that slight blurry look.

April 6, 2009

Photoshop Actions

by me! This is a set of 5 actions. They are

DD Dark and Dreamy: Gives your photo a little depth and dreaminess.
DD Trim: Trims any excess transparent space from your image. This is nice if you make siggies or anything that has extra transparent space on your canvas.
DD White Balance: Brightens your photos.
DD Stroke and Frame: Adds a white frame trimmed in black to your photos.
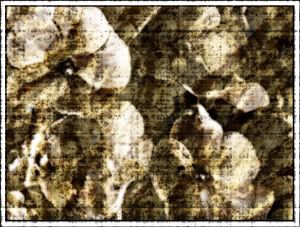
DD Burlapped: Gives a textured burlap (a bit grungy) look to your photos. I use the Color Burn blend mode but you can change the blend mode to get the effect you are looking for.

You can check the the dialog on/off box in any of these actions to make the steps interactive. By doing this you can change any of the settings (such as color, opacity, blend mode, etc) as the actions go through the steps.

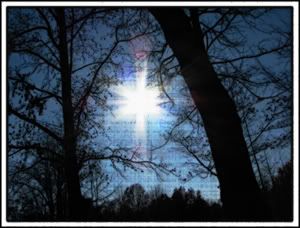
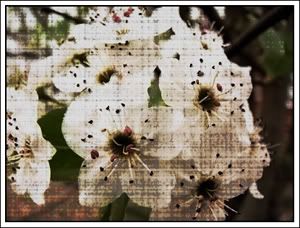
Here's a few pics using the Stroke and Frame, Soft and Dreamy and Burlapped actions.

You can get them as a set here.


Hope you enjoy them. No link back required, but please do not claim them as your own.

April 1, 2009

Textures for Photoshop

These textures are available in files sizes up to 1024 x 768. Just choose which size you want to download from my Flickr album or you can get all of them in the 1024 x 768 size by downloading them as a set from the link below.


These were made by me. No link back required; however, I would not mind being mentioned if you feel like it, but please don't claim them as your own. Thank you.

You can grab them individually here.

Or download them as a set from here.

March 31, 2009

Textures

Ok, I played and played some more and still haven't produced any textures that I feel are worthy to be shared so I found you a really cool site to get free textures, stock photos, tutorials and lots of goodies to use in your PhotoShop playground!

The site is called stock.xchng.

Here's a link to their textures and a link to their home page is over on the right! Have fun!

March 30, 2009

Using Textures in PhotoShop

There's a hundred ways to do everything but here's how I do it.

Open the photo you want to work with.

Open your texture.

Ok, here we go. This is easy!

Click on your texture and drag and drop it onto your photo that you want to "texturize" (Is that a word? The texture will show up as a new layer over your photo.

At the top of your layer palette you will see a little drop down box that says Normal. Click this and choose a blending mode. I almost always start with overlay or soft light. Those seem to give me the best results. You can try any of the choices there and find the look you want. I almost always leave the opacity set at 100% but feel free to play around with it and see what you can come up with.

Here's a quick example.

Photobucket

and this is the same pic using Aged Wood texture from Skeletal Mess with Blend Mode set to Darken.

Photobucket

I gotta go get my boys in the tub, my moms waiting, and I haven't even gotten dressed yet. Ooops, we might be a little late!

Have fun playing!!!

March 29, 2009

Skeletal Mess Textures

I have recently seen some amazing photography using Ghostbones Textures. I frantically started searching for these awesome little "helpers" to be used in Photoshop only to find that Ghostbones was no longer on Flickr! I did a little more digging and I found them! Woowhooo!

Ghostbones is now known as Skeletal Mess....makes sense right?? LOL!

Anyway here's a link to the awesome textures.

Skeletal Mess Free Texture Set (there's also a link over on the side bar in case you can't find this later).

Please tell me you know how to use textures...well just in case, I'll post a tutorial for using textures tomorrow and I'll find a couple of photos to play with while I'm at it.

March 27, 2009

White Balance

I mentioned white balance in my last post. Well, I have a horrible time getting my white balance set right on my camera. Even when I set it for whatever conditions I'm shooting in, it's still just not quite right. I have found a trick that Oh so love!!!

I am sure that most of you who use PhotoShop already know this but I'm sharing just in case you don't.

While you have your pic open in PS, click Ctrl +L (or Image/Adjustments/Levels). You will see 3 little eyedroppers over on the right of the pop up. Choose the 3rd one, this is for white. Find something in your original pic that you know should be solid white. Click on it and watch the magic happen! It adjusts your photo for proper white balance. There is also a gray dropper and a black that you can use too. I only used the white dropper on the snow in this pics and look at the difference it made.

Photobucket

Try it and see what it can do for some of your pics!

ANNOUNCEMENTS

For those of you who are new followers/readers, don't forget to check out the forum and join in on our discussions there.

My Country Blog of This and That Forum

I love each and every comment my blogging friends leave for me!


All images and graphics on this page were made by me with the exception of that little rooster! He came from Beth Logan's Checkered Chickens at pccrafter.com. Photos were taken by me and graphics were created using Photoshop CS2.
If you see something you like please ask for permission before using it!
Thank you!