


Here goes...
I have tried a few different soap recipes and I have settled with this one for most of my soap making. Why? It leaves my skin soft, it lathers well, it has a light color that's nice for adding swirls of color or just leaving plain.
This makes a batch that fills my homemade mold.
I'll weight this loaf when I take it out of the mold and see exactly how much it makes and update here.
Update: The soap has been unmolded and weighs in at 3.9999 pounds. So we'll just say this is a 4-pound soap recipe.
Materials: (make sure nothing is aluminum - aluminum and lye do not work well together)
Kitchen scales
Stick blender
1 large container
Container for mixing lye
Small disposable container for measuring lye
Goggles
Gloves
Any additives you want to use
Oils
Fragrance
Dyes
Sodium hydroxide (Lye)
Vinegar (for neutralizing spilled lye)
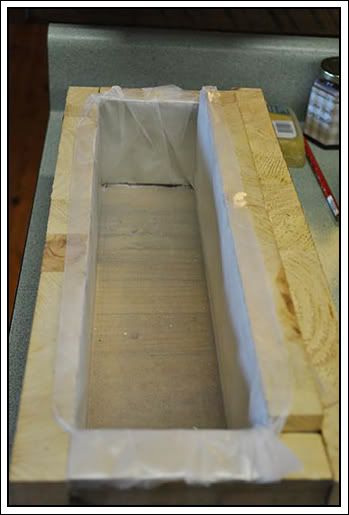
Soap Mold
Wax paper to line your mold
Towels
Spatulas/wooden spoons
Ingredients I use in my soap:
Canola oil - 10.4 ounces
Coconut oil - 10.4 ounces
Lard - 14 ounces
Crisco - 10.4 ounces
Lye (Sodium Hydroxide) - 6.242 ounces
Distilled water - 14.916 ounces
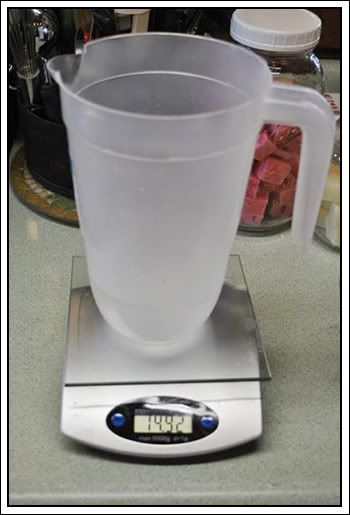
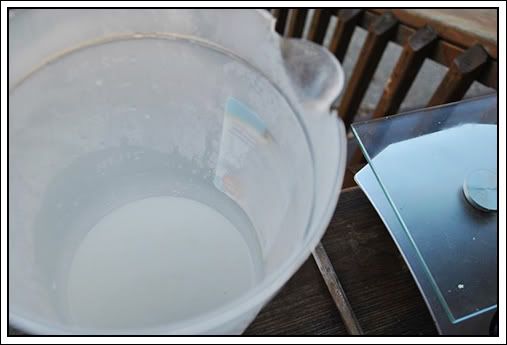
The first thing I do is measure my water in the container that I will be mixing the lye/water solution in.
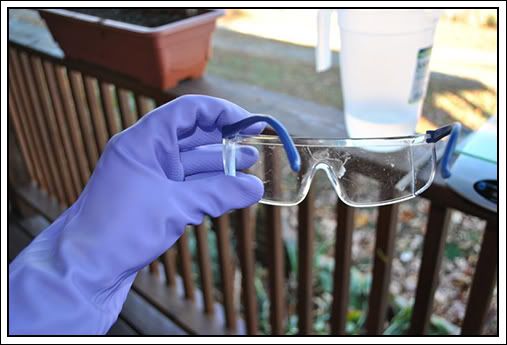
Then I put on my goggles and my gloves (please wear these!)
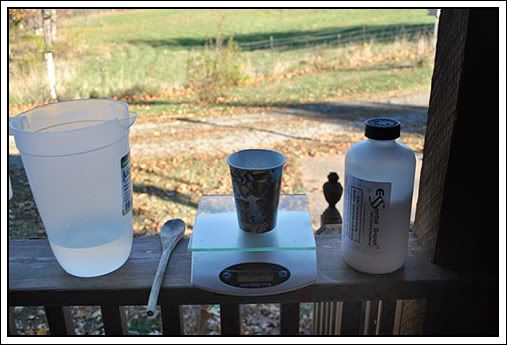
And take my lye mixing container (which contains my distilled water), lye, wooden spoon, scales and lye cup to the front porch. I do this because I have little ones and if I don't open the lye bottle inside then there's no chance of getting it on the counter or utensils that they might be using or handling.
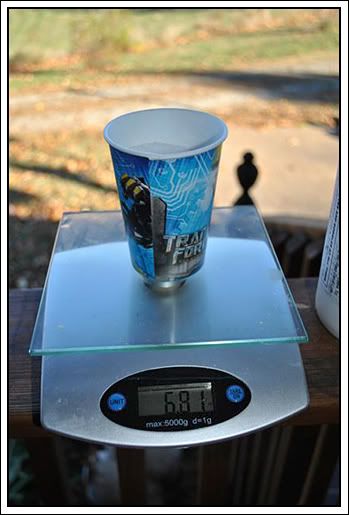
I pour my lye into a disposable cup for weighing.
Pour your LYE INTO THE WATER - never the other way around and throw away the disposable cup.
This mixture will heat up fast. You will feel the heat from this through your glove and in 40 degree weather this morning I even got a little smoke! Leave this on the porch to start cooling.
Measure out all your solids and oils.
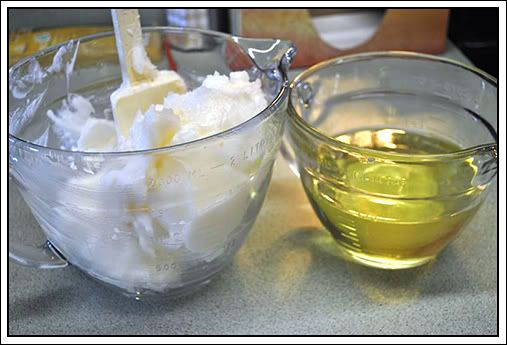
Melt your solids in the microwave, about 30 seconds at a time until all melted. Pour you liquids in with your warm melted solids. Make sure they are in a big enough bowl to add your lye water and mix with your stick blender.
Check the temp on your lye solution.
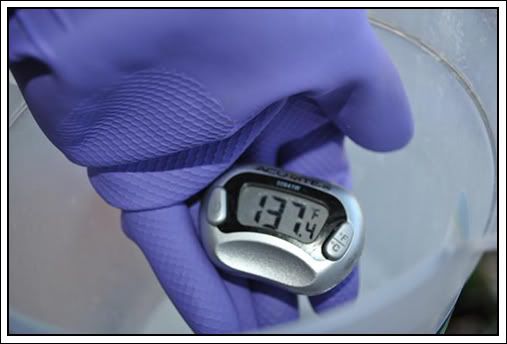
You want it around 100 - 110 degrees. Mine's still way too warm. I am ready for this now so to speed things up, I took a large bowl and put ice and some water in it then sat the pitcher down into the ice. Make sure not to get the ice or water in the pitcher just use it as a ice bath to cool your lye from the outside. This took about 5 minutes to cool it down to 102.
You want your oils inside to be between 90 and 110. Mine were at 101 so here we go!
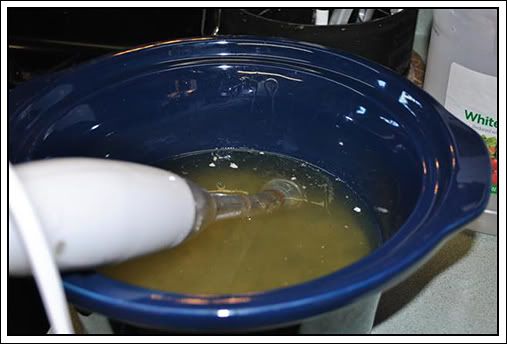
With your goggles and gloves still on, pour your lye solution into your oils.
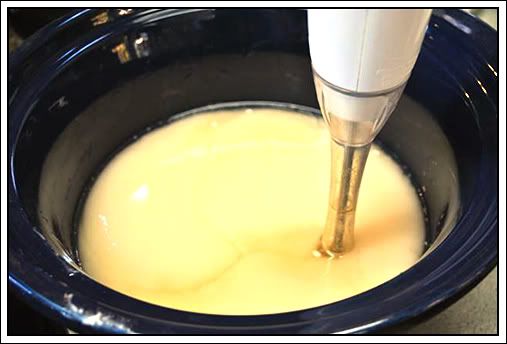
This will start to turn an opaque color as soon as you start to blend. I pulse my blender on and off while blending. It may take a few minutes but your mixture will start to thicken like pudding. You are wanting to bring your soap to trace. Trace has been reached when you can lift the mixer (turned off) and drizzle some on top of the mixture and it stays for a few seconds. Add your color and fragrance, mix this in well and pour into your mold.
I was working with making a color blend which takes a couple more steps and when I added my fragrance (Honey Almond) it caused my soap to trace and thicken very quickly so I was working super fast at getting it mixed, swirled and poured into the mold before it got too hard so I don't have any pics from here until it is in the mold.
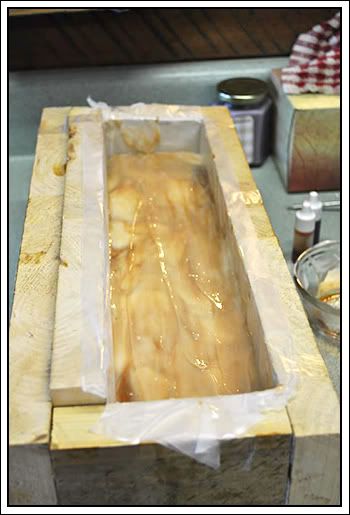
Bang the mold on your counter a few times to make sure all the bubbles are out and it's settled into the mold well.
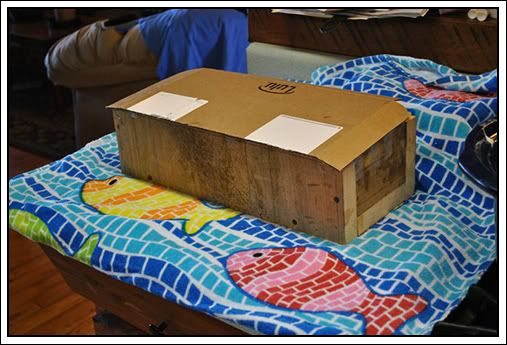
Cover with cardboard
and wrap in towels.
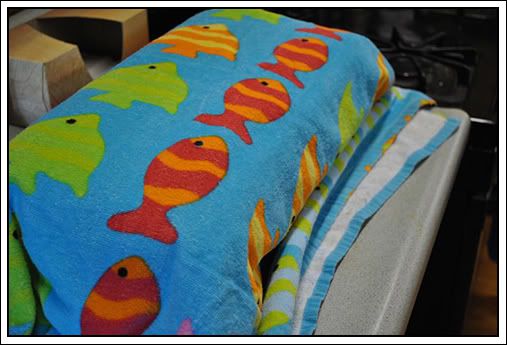
The mixture will go through saponification over the next 18 - 24 hours. It will heat up and then return to room temperature.
When at room temperature, unmold and slice. Place on a rack for curing for about 4 weeks.
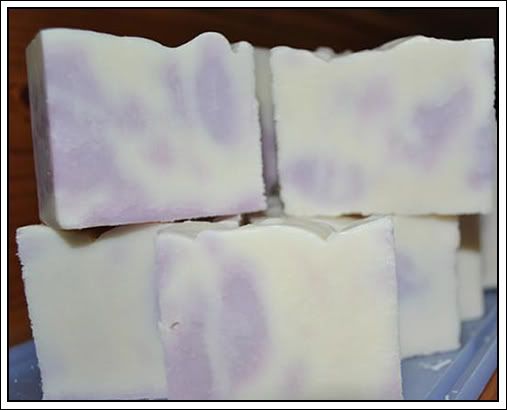
Here's a photo of my first swirl soap I made last week. This is lavender scented.
If I have learned anything about soap-making, it's that it gets easier and you will want to try new recipes/fragrances/colors and additives.
If you are looking for a vegan soap you can change any of the oils/fats above but make sure to run them through a lye calculator to get your exact measurements before mixing.
I use the lye calculator at Bramble Berry.
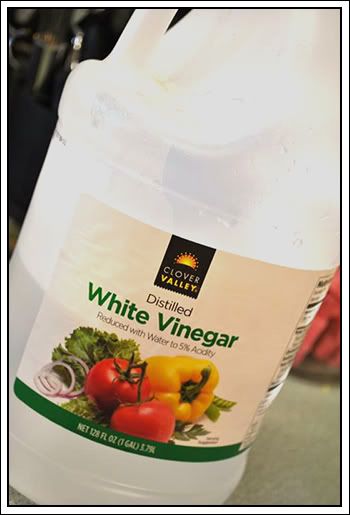
Keep some vinegar handy for neutralizing any lye spills and for wiping down your counters after making soap.
You can find lots of recipes on the web to make homemade soap using all different kinds of oil combinations.
My soap is saponifying on the counter as I type. I'll post tomorrow with pics of the unmolded loaf! If you have any questions or suggestions, please post them. Join us on Facebook at our Soap-making for Beginners page to find lots of links to great soap-making pages.


15 comments:
Glad you are a big proponent of safety goggles and gloves. I remember my mom making lye soap in Wisconsin. That stuff will eat through your skin in no time.
:)
I think it is amazing that you are making soap! What a process it is..My very favorite scent is lavender..love it! I sure admire you! :D
I applaud the soap making :) I remember having eat a lot of it as a kid :D
Jules @ Trying To Get Over The Rainbow
Weee, I am tried just reading the steps. Looks hard, but you did a great job !
I am certainly going to be back to this one when I get brave enough to try this. Of course, I'm still nervous about trying this.
Teresa
Do you have a favorite supplier for your lye and/or scale? I might just have to try this. You make it look so easy.
Nancy, I get my lye from Essential Depot. Make sure to get Sodium Hydroxide not Potassium Hydroxide. I bought my scale at Walmart. It's just a regular kitchen scale. Make sure to get one that has tare capabilities so you can adjust for the weight of your container before measuring out your soap ingredients.
Thank you for the information. I appreciate it! :)
I didn't know you could make cold process soap in a microwave. I really want to give this a try you make it sound easy. I have everything except the lye.
JenW, I just use the microwave to melt my solids and get them at the right temp for mixing with my liquid oils. You can also do this on the stove in a saucepan or double boiler. Just make sure after you blend the liquids and solids that they are at the right temp before mixing in the lye water.
Please forgive my ignorance, but if you have to use such dramatic safety measures when handling the ingredients that go into your soaps how safe can they be? Please correct me if I am wrong. I am just learning about making soaps and would like to know your take on using harmful chemicals in natural soaps. I really would like to know, so you can email me back adams_jm@yahoo.com or through our blog that would be great. I'm not trying to be offensive, I would just like to know from someone who seems to know bout soap making.
Hi Mike! I'm not offended at all and it's a great question that I will try to answer.
ALL soap is made with lye. Soap CANNOT be made without using it. Even melt and pour soap is made from lye. It's used to make the soap base before the consumer buys it. The bar of soap you are using now, store-bought or handmade was made using lye.
The lye (sodium hydroxide) itself is a very caustic and corrosive base substance and will burn your skin, eat your counter top, etc. if not handled with proper safety precautions. When the oils and lye-water mixture are blended, they go through a process called saponification. This is the chemical reaction of the oils and lye transforming into soap. Each oil has a saponification value which tells you the oil-to-lye ratio that you need for that oil to complete "saponify" the lye. That's why a lye/soap calculator must be used for each type of oil to get the correct amount or you run the risk of having raw lye in your soap and burning the skin. I do check my soap with pH strips to ensure that the lye is completely saponified when my soap is finished. I have never had a batch with lye remaining in the final product.
Even the most natural soap is made from sodium hydroxide as a base product. If not, then you don't have soap. You will find some articles on the web that argue this point but if you do any digging into reliable articles on soapmaking history you will find that even our grandmother's grandmothers used water filtered through wood ashes to produce lye for soapmaking.
So in the end, yes, I could just buy a bar of soap but this is as "natural" as you can get without all those other big chemical words they add on the soap packaging and it's so much more fun!
I hope that answers your question. If there's something I failed to explain please let me know and I'll try to clarify it.
That makes much more sense! I looked it up online and couldn't really find a good answer. Thanks for taking the time to explain it.
You're welcome!
I just made this recipe with lavender EO. I dyed some purple to make a swirl. Not sure how it will turn out. This is ky first time doing CP and coloring. I have done HP. But wanted a smooth bar. Wish me luck.
Post a Comment