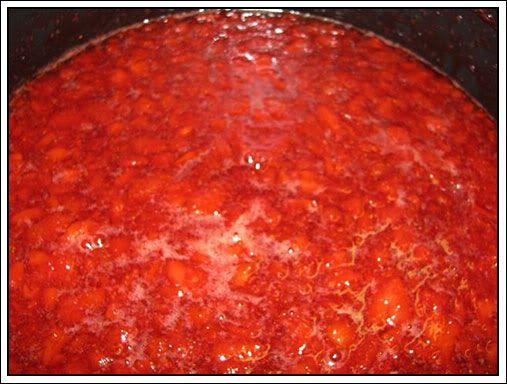
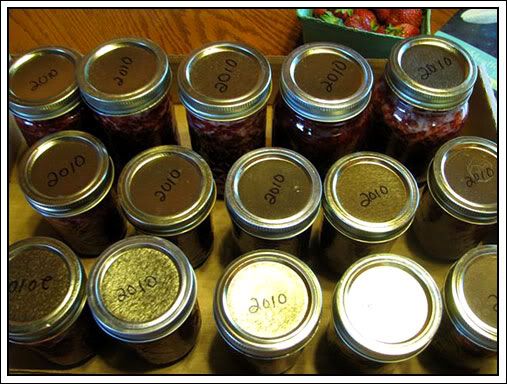
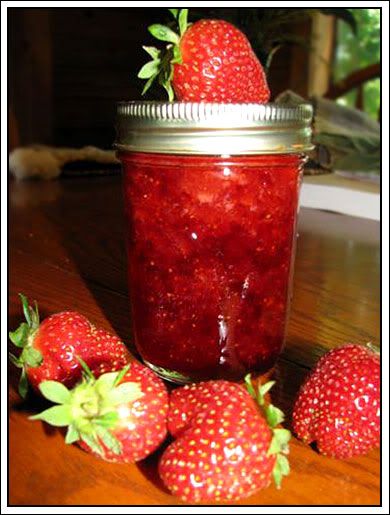
Showing posts with label Canning. Show all posts

August 29, 2013

Peach Jam

The recipe for peach jam is here from 2012.
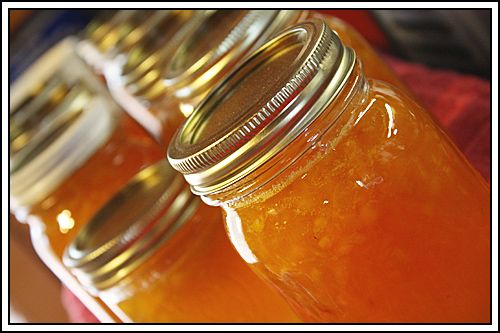
  
 photo IMG_9768_zpsaecd16fe.jpg
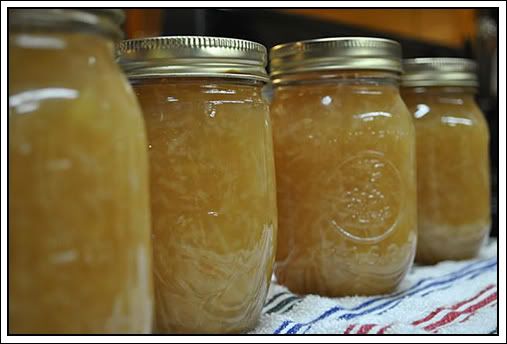
I just wanted to share the photo from this year because it looks so beautiful!!

August 28, 2013

How To Can Pears

It's that time of year!  I canned 7 quarts of pears last night.  The tree is still loaded with pears and I have another tree that will ripen in a couple of weeks.  Pears, unlike peaches or apples, can be picked early and they will continue to ripen.  I pick them early, wrap them in newspaper and let them set in my dark pantry for a few days.  This lets them get to that perfect ripeness.
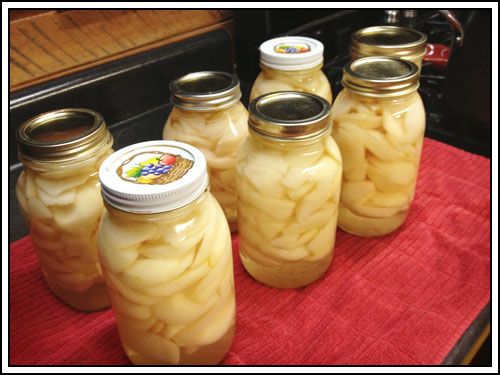
 photo pears_zps8828844c.jpg 
  How To Can Pears
Pears
Sugar
Water
Jars
Lids and Rings

Wash and peel your pears.  I slice mine into about 1/4-inch slices, discard the hard middle containing the seeds.  I use a lot of my canned pears to make Pear Custard Bars.  When I get tired of slicing all those pears, I start canning them as halves!  Makes the job go much faster and these are great for the boys when they want a snack.  
I slice the pears into a large bowl of water with 3 tablespoons of lemon juice added to keep them from turning dark while I'm getting them ready to put into jars.
 While I'm doing this, I'm running my jars through the hot cycle on the dishwasher, you can put them in boiling water for 5-10 minutes to sanitize them as well.  I also have my large canner on the stove with water heating for the hot water bath part of canning and I put my lids and rings in a small sauce pan over low heat in very hot (not boiling) water. 
About 15 minutes before I finish the peeling and slicing, using a large pot, I put 6 cups of water and slowly add 2 cups of sugar over medium heat, stirring constantly to dissolve the sugar.  Bring this to a gentle boil.  This makes a light syrup and will fill approximately 7 quarts of pears.  See the chart below for medium and heavy syrup recipes.
When the pears are all sliced, using a slotted spoon, remove them from the water/lemon juice and pack them into your hot jars.  Make sure the pears are as flat as possible or you'll have a very large gap at the bottom of your jar when your finished.
When your jars are packed with pears, pour the boiling sugar water over the pears leaving 1/4-inch head space.  Using a butter knife or a wooden skewer, run it around the inside of the jar to release any air bubbles.  Wipe the rim of your jar with a damp cloth then adjust hot lids and bands to finger-tight.
Put jars in the hot water bath.  Water should be about 1 inch above jar lids.  Cover and bring to a rolling boil.  Start timing your water bath when it begins to boil.  
For quarts, 25 minutes.  For pints, 20 minutes.
Remove from hot water bath and let sit until cooled.  Lids should be sealed when cooled!  That's it, go can some pears!
Syrup (sugar to water ratios)
Heavy syrup:  4 cups of sugar to 6 cups of water
Medium syrup: 3 cups of sugar to 6 cups of water
Light Syrup: 2 cups of sugar to 6 cups of water

August 17, 2013

Freezer Pickles (A New Favorite)


Not sure what to do with all those cucumbers?  This recipe is simple, quick, doesn't require boiling, bathing or processing.....
Quick and Easy Freezer Pickles
7 cups of cucumbers (sliced)
1 cup of bell peppers (sliced)
1 cup of onion (sliced)
1 cup white vinegar
2 cups sugar
2 tsp salt
1 tsp celery seed 

Thinly slice your cucumbers, onions and bell peppers and mix together.
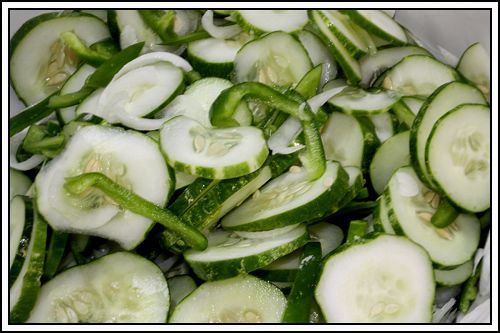
  photo IMG_9595_zps8ad36a0e.jpg
Mix vinegar, sugar, salt and celery seed and pour over sliced veggies and stir.
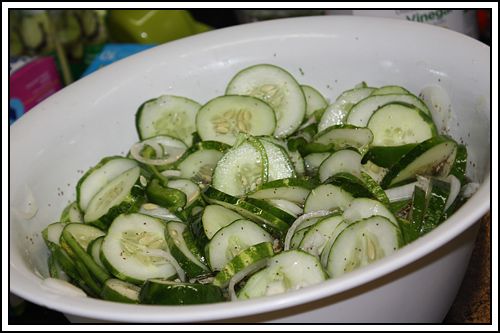
   photo IMG_9608_zps67e1c6ba.jpg 
 Marinate over night in the refrigerator, stirring a couple of times.
Using a slotted spoon, pack cucumbers, onions and peppers into freezer containers or zip lock freezer baggies, then add enough of the liquid from bowl to cover pickles.  
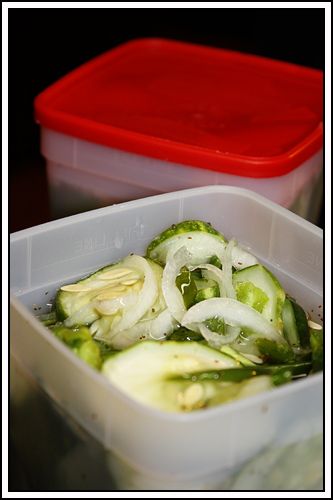
 
 photo IMG_9728_zpsfeaf8587.jpg 
Close tightly and place in freezer.  
(That is if you can keep from eating them all while putting them in containers!)
When you want to use them, remove them from the freezer in time for pickles to thaw.  I usually take them out the night before and put them in the refrigerator.  They'll be as crispy and sweet as they were when you first made them!

August 15, 2013

Cowboy Candy (Candied Jalopenos)


Delicious, whatever you want to call them.......it'll make your taste buds sing!  
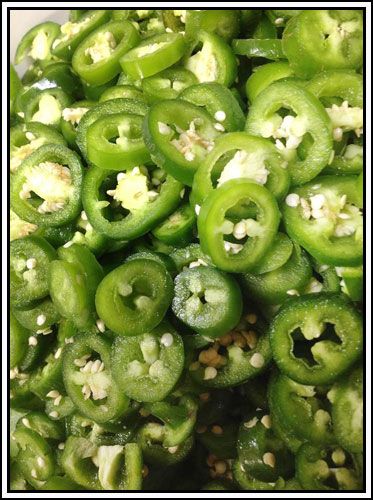
  photo h1cvusjx_zpsf1b65b3b.jpg
Cowboy Candy
3 pounds fresh, firm jalapeños
2 cups cider vinegar
6 cups granulated sugar
1/2 teaspoon tumeric
1/2 teaspoon celery seed
3 teaspoons granulated garlic (or 1 1/2 tsp garlic powder)
1 teaspoon cayenne pepper

Wash your jalapeños
Remove the stem and slice into 1/8 to 1/4 inch slices. Please wear gloves when you're doing this or you will regret it!!  The first time I chopped jalapeños when canning, my fingers burned FOREVER!  Well, not forever, but it felt like it!
Mix vinegar, sugar, tumeric, celery seeds, garlic and cayenne pepper together in a large pot. Bring to boiling.  Reduce the heat and simmer for 5 minutes.  Add the jalapeños!  Bring back to boiling.  Reduce the heat and simmer for 5 more minutes. 
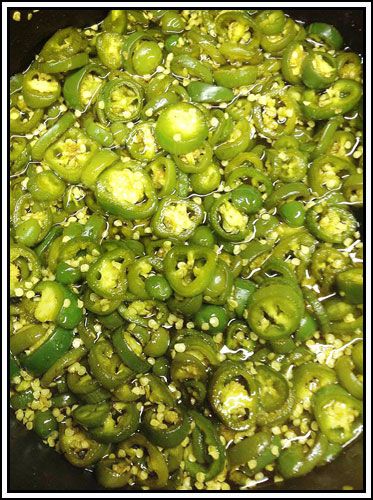
 photo 12979_642916762399448_20009_zps85ca87e0.jpg
 Use a slotted spoon to transfer the pepper into hot, sterile half pint or pint canning jars.  Take the liquid from your pot and pour over the peppers in the jar, leaving 1/4 inch head space.  Using something (I use a wooden kabob stick), remove any air from the liquid in the jar.  I just poke around in there 3 or 4 times to make sure all the little bubbles get loose.  Add your hot lids and bands and process in a hot water bath. 
(10 minutes for half pints/15 minutes for pints)
Yield: 6 half-pint jars 
(I doubled the recipe and got 10 but I packed the peppers pretty tight before adding the liquid.)  photo ek7ntq2f_zpsff8e4371.jpg
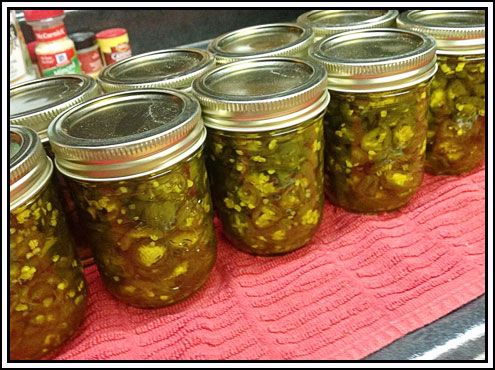
Then the HARD part!  You need to wait 2 weeks to a month for all the tastes to mellow and turn into awesomeness!  I tried someone else's......I have 9 days to go before I can try mine!  I'm not sure I'm going to make it!
 
Hope you enjoy yours!!

July 24, 2012

Just Peachy


My boys love their jam! I'm milking a goat again so that means homemade yogurt which means using my homemade jam as the "fruit-on-the-bottom"! Peach is one of their favorites. I have a new iPad and have downloaded the bloggin' apps that should simplify this bloggers life for posting more often. We shall see how that goes! Here's my first iPad bloggin' photo!
  
To can peach jam, you need:
 
Jars, lids and bands
 Peaches 
5 1/2 cups sugar 
1 pkg Sure-Jell
1 Tbs. butter 
2 Tbsp. lemon juice 
Peel and finely chop peaches to equal 4 cups. Add peaches, Sure-Jell, lemon juice and butter to a large pot. Bring to a rapid rolling boil. Add sugar. Have hot jars and bands/lids ready and waiting. Bring mixture to a rapid rolling boil that cannot be stirred down. Allow to boil for 1 minute while stirring. Remove from heat. Pour into hot jars, wipe rims of jars, adjust lids and bands. Process in hot water bath for 10 minutes. Remove jars from hot water bath to a towel on the counter and let cool for 24 hours before moving.
 
ENJOY!

May 14, 2011

It's That Time of Year

when it rains and rains and rains and it's raining again today! This year has been one of the worst for our area.


The flood waters are VERY slowly receding.


Many people are still waiting to get back to their homes.


I talked to a friend of ours who was able to drive out from their house for the first time yesterday. The roads have been blocked on all sides by water for weeks.

It's also the time of year for Amish strawberries!

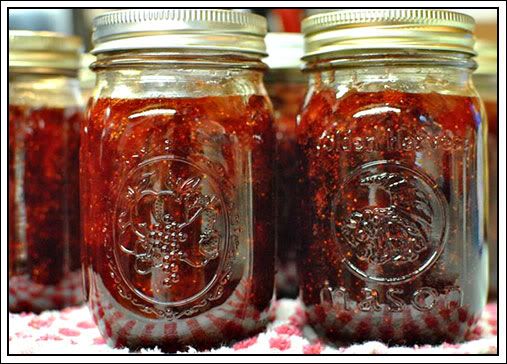
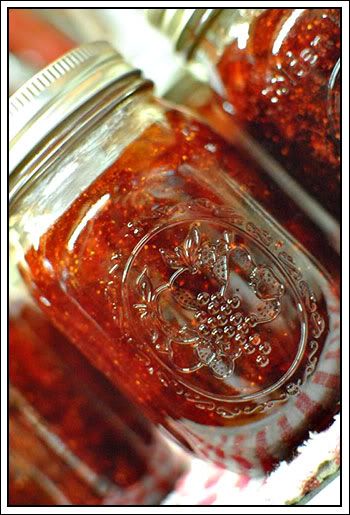
I put 14 quarts in the freezer and made 10 pints of strawberry jam this year. We still have a few left from last year so I'm finished with strawberries for this season.


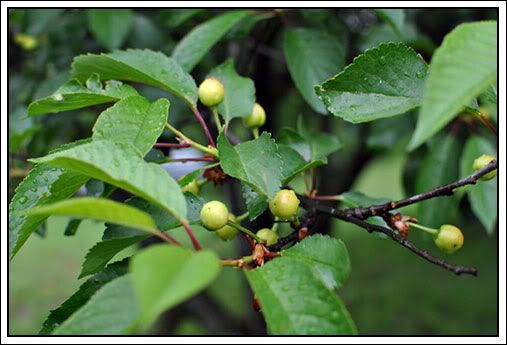
Next will be cherries!


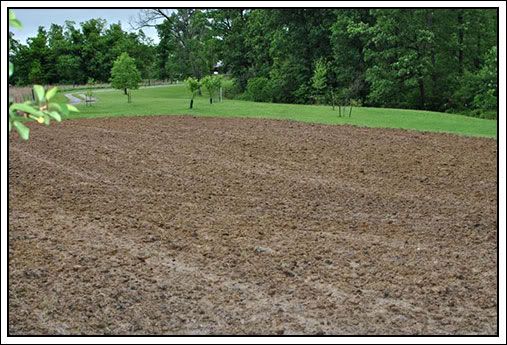
If it ever stops raining and dries out enough,


I'll get my garden planted!

October 3, 2010

Pear Honey (Revisited)

Photobucket
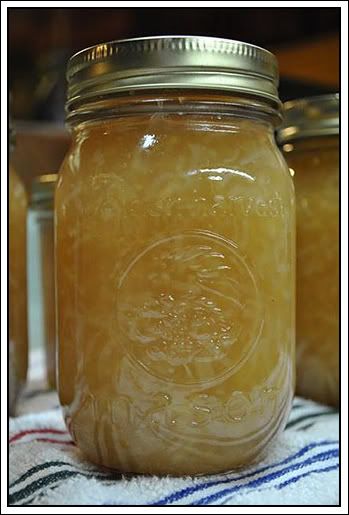
I posted the recipe for Pear Honey back in November of 2009 but thought I would share the canning process with you this year. If you do a search for pear honey, you will find many different recipes and variations. All of them sound good but my great grandmother canned this pear honey years ago when my mom was a little girl. My mom tracked down her recipe a couple of years ago and canned pear honey.
Photobucket
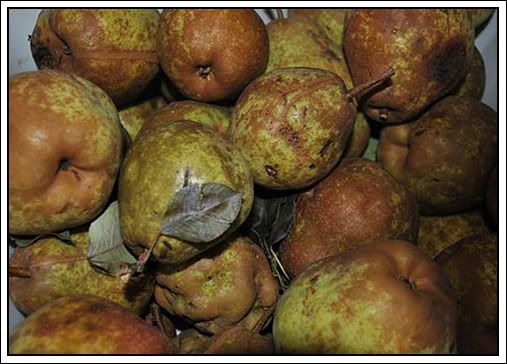
I received a bushel of pears from my aunt and uncle yesterday and I started working on them tonight by peeling and removing the seeds and any bruised spots. I chopped them in my little chopper gadget. I told my husband that a food process was on my Christmas list for this year.

Pear Honey
6 - 8 cups finely chopped pears
1 (20 oz.) can crushed pineapple
6 c. sugar
1 T. lemon juice
1/3 c. water
1 (14 oz.) bag shredded coconut (optional)
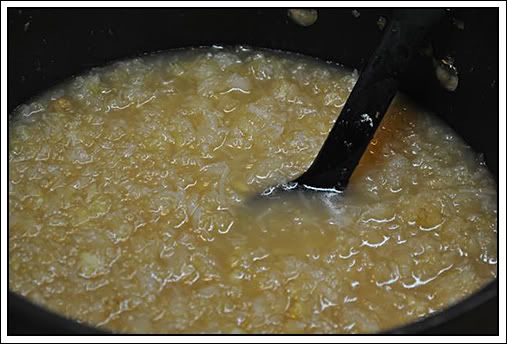
Put finely chopped pears in a large saucepan with lemon juice and water. Cook pears until tender. This could take anywhere from 10 minutes to 30 minutes depending on how soft and ripe your pears were to start with. Just cook them until they are mushy.
Photobucket
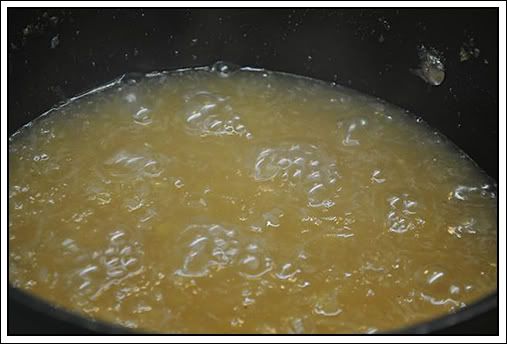
Add crushed pineapple, coconut and sugar. Mix well and cook until mixture thickens. This too could take a while but it will happen! Make sure to stir it often to keep it from sticking.
Photobucket
Here it is, thick and bubbly! This smells so good! I wish I could find a candle that smelled like this! Ladle pear honey into hot, sterilized jars. Add hot lids and bands. Process in a boiling water bath for 10 minutes.
Photobucket
This batch made 7 1/2 pints. You can use this as a jam on toast or over hot biscuits. My boys like it over vanilla ice cream. Me...well I don't want to tell....okay....okay....I admit it, I eat it straight from the jar with a spoon! I can open one of those little jelly jars of this and eat a little and within a couple of days the whole jar is gone and I have no idea how it happened but I will tell you that it calls to me each time I pass the refrigerator. Try it, yours will disappear too!

August 20, 2010

Canning Apple Pie Filling

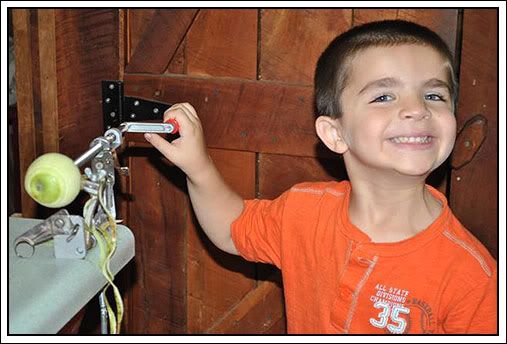
We picked apples again this morning and my little helper peeled and peeled and peeled. He loves using my Pampered Chef apple peeler. He makes tractor sounds while he's turning the handle.
Photobucket
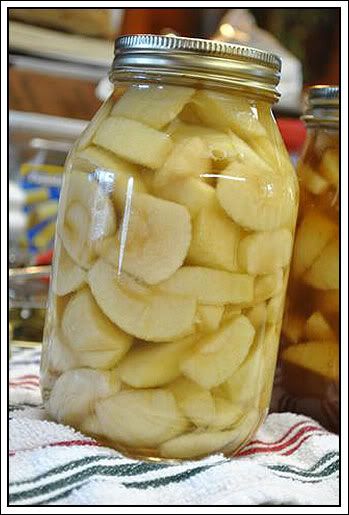
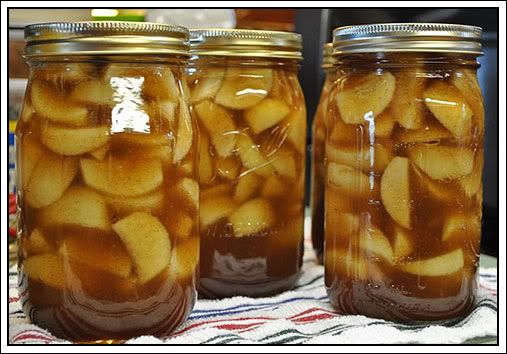
We canned a few jars of apple slices in a sugar water syrup. These are great for making fried apples.
Photobucket
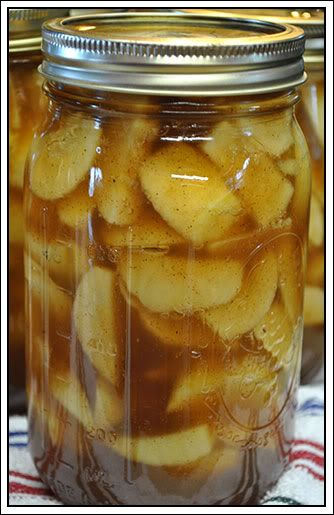
But my BIG PROJECT of the day was canning homemade apple pie filling for the first time. I found a few different recipes online and then took a look at my apple pie recipe and did some modifications...
Here's what I came up with.
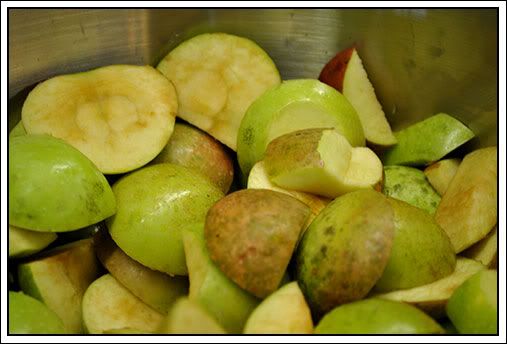
Peel apples and cut into pie-sized slices. I let mine sit in a big bowl of water with some lemon juice added to keep them from turning brown. You should do enough to fill 7 quart jars packed tightly.
Photobucket
Canned Apple Pie Filling
6 - 8 pounds of apples
2 1/2 cups sugar
2 1/2 cups brown sugar
1 cup regular clear gel (not instant clear gel)
2 Tbsp. vinegar
1 Tbsp. cinnamon
1/4 tsp. nutmeg
1 tsp. salt
5 cups water
5 cups apple juice

Mix sugar, brown sugar, clear gel, cinnamon, nutmeg and salt together in a bowl. Put vinegar, apple juice (I used some I had juiced with the steam juicer earlier but bought is fine too) and water in a large pot on medium heat. As liquid begins to warm pour sugar mixture in stirring WELL to get the clear gel dissolve. I even used my hand mixer for this so it didn't clump. Heat mixture until bubbly, thick and hot. Pack apples into hot jars tightly. I was afraid the thick filling wouldn't get between the apples well if I packed them too tight but that's not a problem so pack them in there. You can tell I have a little space in the bottom of my jars that could have been filled.

Ladle the hot filling into the jars of apples. Using a wooden or plastic utensil, poke around in your apples to release the air bubbles and to help the filling get down to the bottom and in between all the apples. Finish filling each jar with additional filling leaving at least 3/4-inch head space. Filling will expand a bit during processing. Adjust hot lid and bands and process in boiling water bath for 20 minutes.

Photobucket
I had a little of the mixture left over and my boys LOVED it with fresh apple slices. Might have to can some half pints of this as apple dip!
Photobucket
So go can some apple pie filling and this winter when the snow is falling outside, grab a jar, make a homemade pie crust and ENJOY the smell and taste of warm apple pie!

August 10, 2010

Apple Time Again

Lots of links in this post! I didn't plan it that way, I promise!
Photobucket
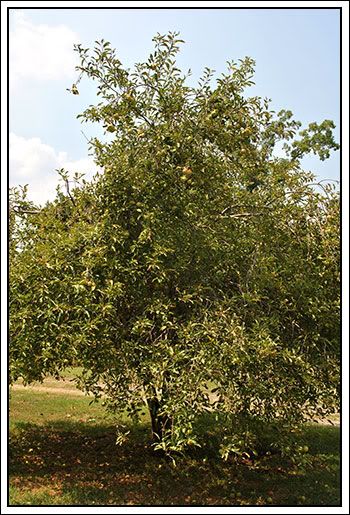
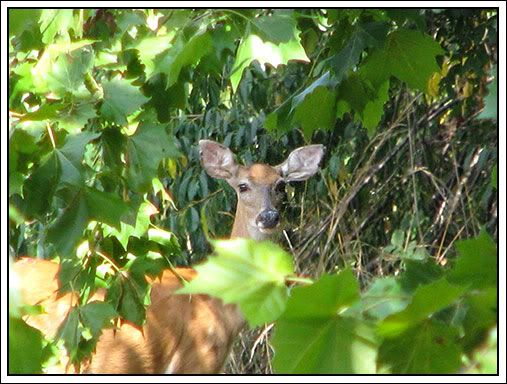
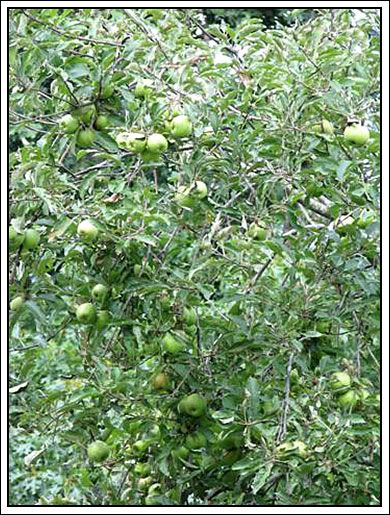
Each year our apple tree bears it's little heart out! This year is no exception. The apples are smaller due to lack of rain but it is absolutely covered in them. A lot of them have already fallen to the ground because of the excessive heat and dry weather. The guineas and chickens love pecking on these during the day and there's always a doe or two eating apples at night when I flip the porch light on to let the dogs out.

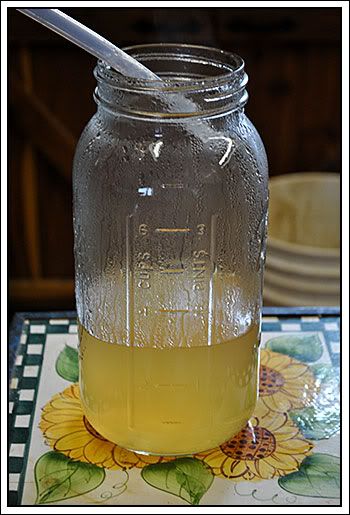
Each year I find a few more ways to use the apples. Last year I made jelly but the long, tedious process of jelly bagging and squishing and straining and dripping made me decide I'd rather buy my apple jelly but then I found that wonderful thing I have been blogging about lately. The STEAM JUICER! It's on the stove now filled with apples, pouring out beautiful clear apple juice for jelly.
Photobucket
See....
Photobucket

I will also make a couple of apple pies over the next two to three weeks and I will can and freeze apple slices in syrup. My boys have gone through the 8 quarts of apples I canned last year and have started on the frozen ones. They request fried apples at least once a week and I can't resist making a few fried apple pies once I have them cooked.

I am also going to use apples in the Pear Custard Bar recipe. I tried this with fresh peaches and it was absolutely delicious! Don't tell the pears but the peaches were even better! Along with several bags of frozen peaches for this recipe, there will now be several bags of apples!

I also use my Roma Food Strainer to make applesauce and apple butter.

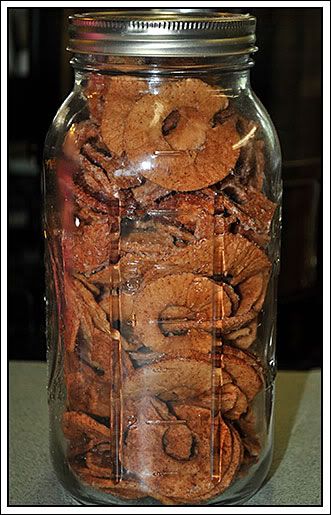
My husband uses my Pampered Chef apple peeler/corer gadget to make these apple rings. He dips them in cinnamon and sugar and dehydrates them. Yum!
Photobucket
A few calls go out to neighbors and friends and they come and pick apples for their own uses and then a couple of five gallon buckets are stored in a dark, cool, dry place to keep for feeding the deer and birds during the winter months.

Needless to say, our little apple tree provides a mighty harvest for many!

July 29, 2010

My Day

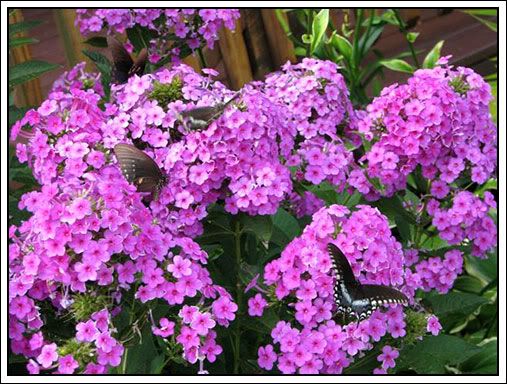
I started my morning out by heading to barn to feed the goats and chickens. On the way out I paused to watch 20 something butterflies on this one plant! There seems to be more butterflies around this year and I've seen several honey bees on my sunflowers.
Photobucket
Bella's mad at me. I have cut back on her grain and we've moved to milking every other day and I will slowly decrease this and then stop milking all together. I have no more room in the freezer for milk! I think I have enough to last my husband through the winter until the does kid again in the spring. Plus I want to give her some time to rest between milking and getting bred again.

Got that done and headed back to the house to check on my oldest. He's at home today with a cold.
Photobucket
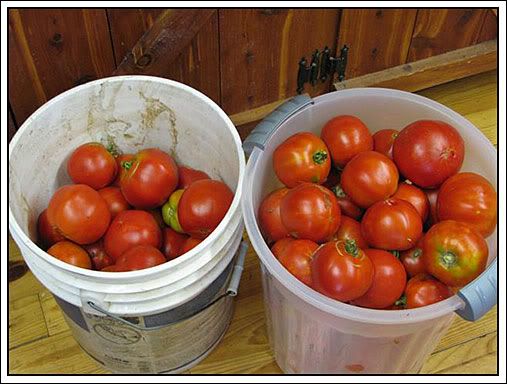
He was still in bed watching a movie when I came back in so I headed out to the garden and picked these two buckets of tomatoes.

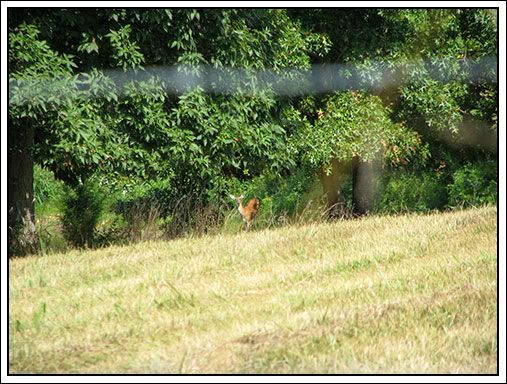
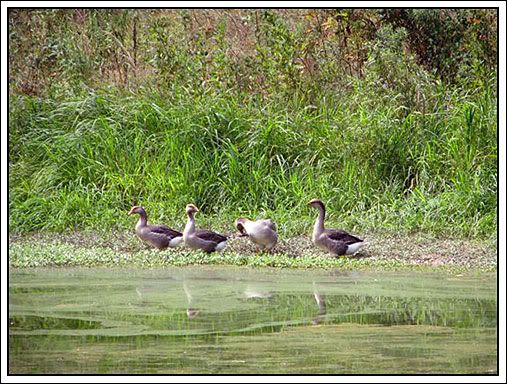
Hopped on the 4-wheeler and headed to the pond to check on the geese. They found the pond last week and haven't been back to the barn since! On the way there, I spotted this gal getting a drink.
Photobucket
She stopped and posed for me for just a second before slipping off into the bushes.
Photobucket
The geese love the pond! They won't come and eat until I drive away. I think they are afraid I'll make them go back to the barn!
Photobucket
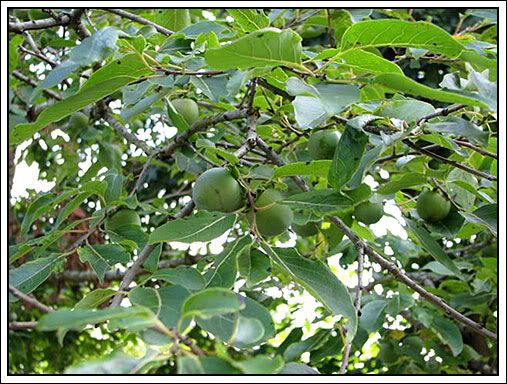
On the way back I noticed the persimmons are growing. I finally get to make persimmon jelly this year using my steam juicer. I've never been patient enough to peel and remove all those seeds before!
Photobucket
The apple tree is LOADED this year and next on my list of things to can, steam and freeze.
Photobucket
Jake's feeling a little better this afternoon but he's still in his PJ's! I gave the puppers a bath this morning and they were in the mood to play!
Photobucket
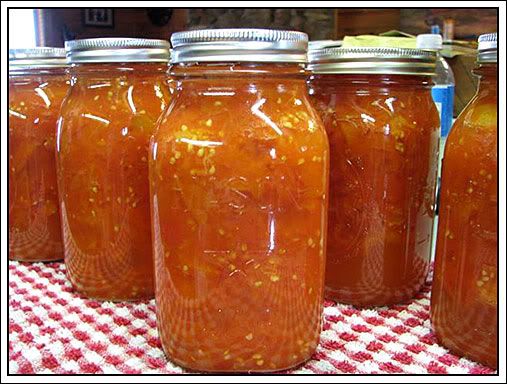
I managed to dry three loads of laundry on the line today in between the other things I've had going on, and I turned those tomatoes into these.
Photobucket
Another 9 and a half quarts to put in the pantry for chili and homemade vegetable soup this winter. Yum!

I have finally sat down to do my "paying" job now. I'd rather take a nap like Biscuit!
Photobucket
Today's one of the slower days at the clinic so I'll have about 2 hours of work then supper, baths, family time and bed.....then start all over again tomorrow!

Thanks for sharing my day with me!

Don't forget about the magazine give away!

July 7, 2010

Plum Jelly

Photobucket
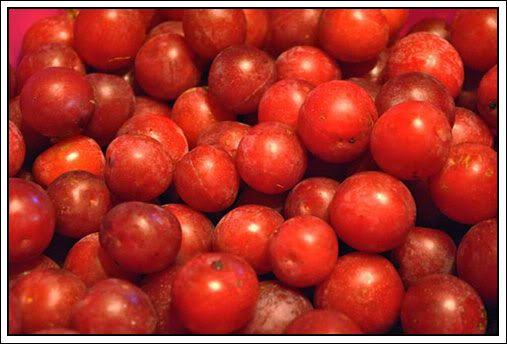
I know I blog about jelly a lot (strawberry, cherry, blackberry......and now plum) but since I got the new steam juicer, it's so easy!! My neighbor was working in his yard close to the road as I was making my way home from picking up chicken and goat feed yesterday. His plum trees are covered in plums. I stopped and asked if I could have some. He said yes!
Photobucket
I picked a two gallon bucket full, washed them and threw them in my steam juice.
Photobucket
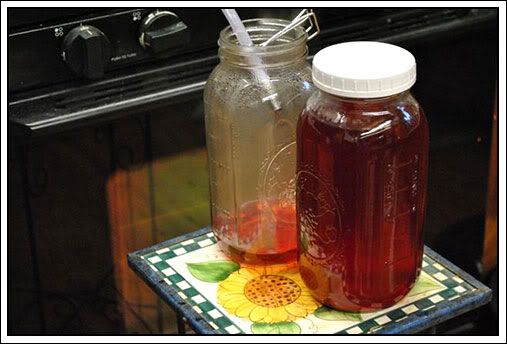
About an hour and a half later I had a gallon of beautiful plum juice.
Photobucket
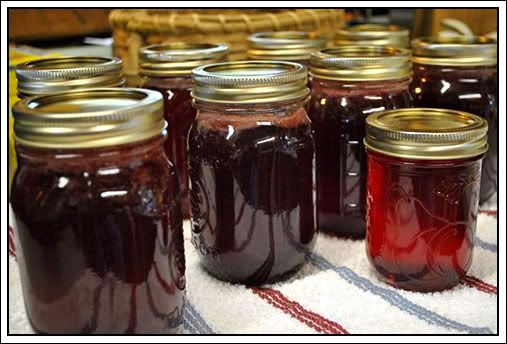
Today, I made 8 1/2 pints of plum jelly!
Photobucket
Yum!
5 1/2 cups juice
1 box Sure-Jell pectin
6 1/2 cups sugar
Boil pectin and juice to rolling boil, add sugar, return to rolling boil while stirring. Boil hard for 1 minute. Pour into hot jars, add lids and bands. Process in boiling water bath for 5 minutes!

May 6, 2010

Canning Give Away!!!

I love to can! I love opening those jars on cold winter days and having a little summer goodness right there in front of me. I can apples, cherries, strawberries, peaches, beans, tomatoes, salsa, pickles, beets....and on and on....I haven't gotten into canning meats yet. I prefer to put that in the freezer but I did get a pressure canner last year so you never know what I might decide to try.

I am hoping by doing this give away that someone else will decide to try canning. I promise you won't be disappointed. You don't even have to grown your own fruits and veggies if you don't have the space or time. I grown a lot of mine but I do buy some of my stuff from the local farmer's market or the Amish community nearby.


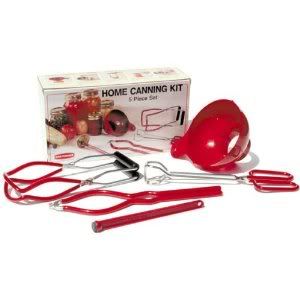
Today's give away includes this 5-piece home canning kit.
Photobucket
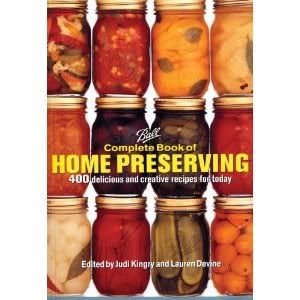
and the Ball Complete Book of Home Preserving.
Photobucket
How to enter...
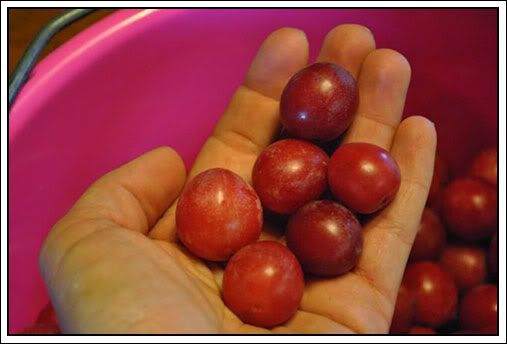
Leave me a comment about canning, why you like to, why you want to, your favorite things to can, etc. You do not have to be a follower of my blog but I would love it if you decided to be! Send your friends this way too!
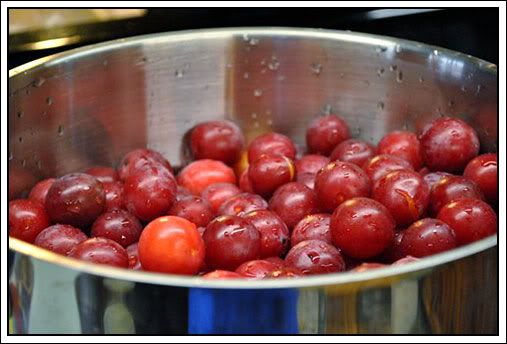
A winner will be drawn on Monday morning, May 10th, at 9:00 am Central time. The items will be shipped to you directly from Amazon and I am going to have to limit this to U.S. entries only after I checked the price of shipping for other countries. Sorry about that, I hope everyone understands.

May 5, 2010

Amish Strawberries

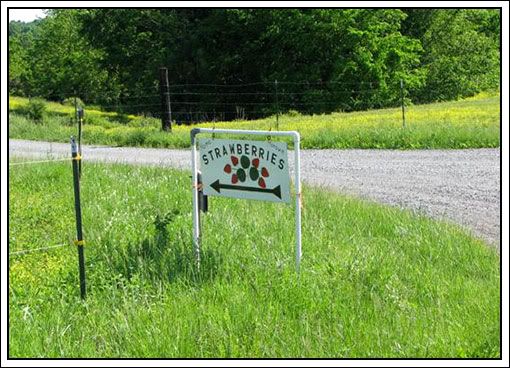
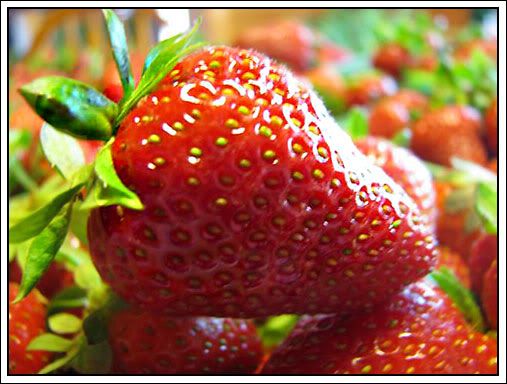
I absolutely love this time of year! Strawberry time at the Amish Community even came a little earlier than usual this year. I took a drive out there this morning in search of their delicious homegrown strawberries. The first place I stopped was sold out so I continued on my journey.
Photobucket
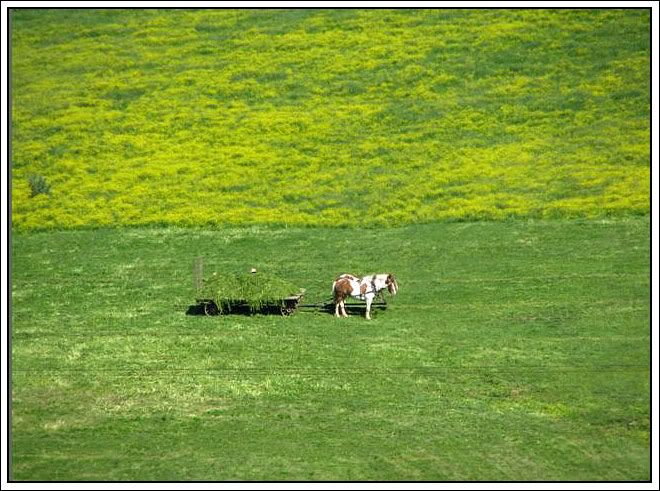
Everyone was busy riding to town in their buggies or working in the fields.
Photobucket
Just past Stutzman's Feed Mill where I get all my chicken and goat feed, I found my strawberries!
Photobucket
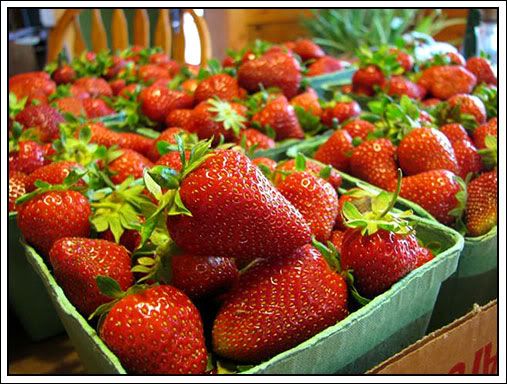
I bought 14 quarts. One went to Mamaw Shirlene's house. She's my aunt and babysitter. I knew the kids she had today would enjoy them. I dropped off another quart to my Dad and put one quart in our refrigerator for nibbling on.
Photobucket
The rest I made into wonderful strawberry jam and frozen sliced strawberries.
Photobucket
Freezer jam is simple but I prefer to can my jam in cute little jelly jars and line them up on my pantry shelf.
Here's how I make my jam:
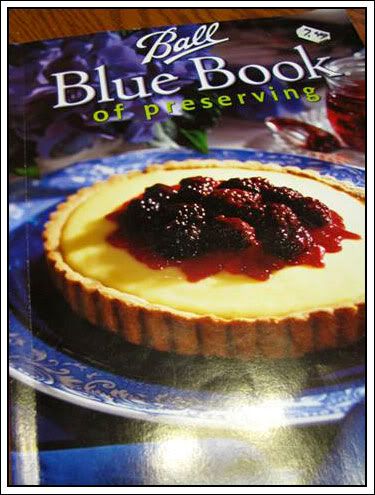
I pull out my trusty Ball Blue Book of Preserving and look up strawberries.
Photobucket
Here's what you need:
5 cups of prepared fruit
7 cups of sugar
1 pack of pectin (I use Sure-Jell)
1/4 cup lemon juice

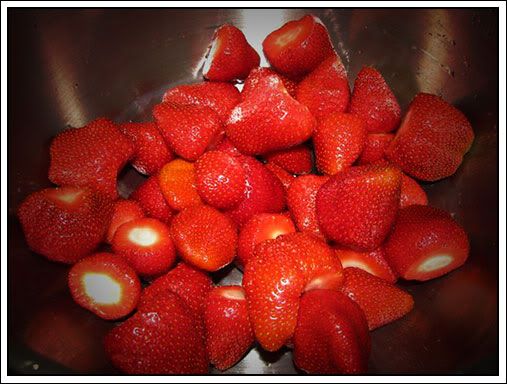
I wash the strawberries and remove the stems
Photobucket
Mash them a layer at a time with my potato masher
Photobucket
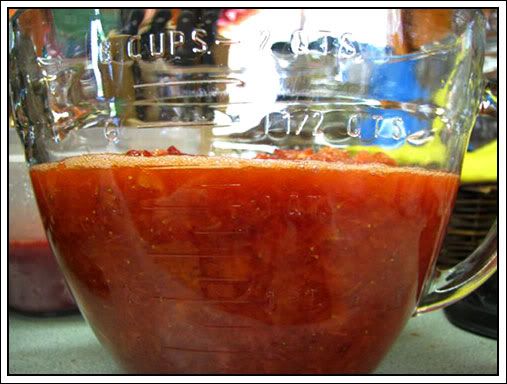
Measure out 5 cups
Photobucket
Put strawberries, pectin and lemon juice in a large sauce pot and bring to a boil.
Add 7 cups of sugar and stir until all sugar is dissolved.
Bring back to a boil stirring occasionally.
Bring to a hard boil and time for 1 minute, stirring constantly.
Photobucket
Pour into clean hot jars and apply lids and bands.
Process in hot water bath for 10 minutes. Remove from hot water bath and place on counter to cool. Listen for that satisfying little "pop" the lid makes as it seals. That's all there is to it.
Photobucket
Half of my 12 quarts of strawberries made 5 pints and 11 half-pints of jam. The other half made 5 quarts of sliced strawberries which I put in the freezer for homemade ice cream, eating with angel food cake, or my boys favorite, with milk and sugar. These are simple to fix. Remove stems, wash and slice strawberries. Mix 1/2 cup sugar per quart of strawberries, stir well and let sit for 5 to 10 minutes until sugar turns to syrup. Pour into freezer bags or freezer containers and freeze.

The canning season is officially underway!
I'm thinking a "canning" give away should be in the near future!

ANNOUNCEMENTS

For those of you who are new followers/readers, don't forget to check out the forum and join in on our discussions there.

My Country Blog of This and That Forum

I love each and every comment my blogging friends leave for me!


All images and graphics on this page were made by me with the exception of that little rooster! He came from Beth Logan's Checkered Chickens at pccrafter.com. Photos were taken by me and graphics were created using Photoshop CS2.
If you see something you like please ask for permission before using it!
Thank you!